
Organizing with Cricut Joy
This post is sponsored by Cricut. All ideas and opinions are my own.
This post contains affiliate links. When you buy through links on the blog, we may earn a commission at no extra cost to you.
Spring cleaning is well underway and what better way to continue organizing our homes than to evaluate what is currently in our homes, especially in our closets. For this month’s blog post, I tackled our multi-functional closet with the help of our friends at Cricut. While I was excited to declutter and get rid of the things that are no longer serving us, I was most excited to use the Cricut Joy and Cricut Smart Vinyl to create labels that will keep the closet both functional and organized. The Cricut Joy is a portable and easy-to-use cutting and writing machine that you too can use to create beautiful labels for your organization projects at home.
After living in our house for a year it was time to give the closet a much-needed refresh. Even though our multi-functional closet was already organized and had systems in place, it needed to be decluttered and redesigned for our family needs. Our girls are so incredibly independent and rearranging the closet to serve them better was definitely a priority. When starting an organizing project, create a top list of priorities for the space and always keep the ultimate goal in mind that everything should have a home.
My top priorities for our multi-functional closet are: accessibility for the girls, new bins and baskets, and purge everything we no longer needed. Now that you know my organizing priorities, let me show you how I transformed this space into an accessible, beautiful, and functional closet.

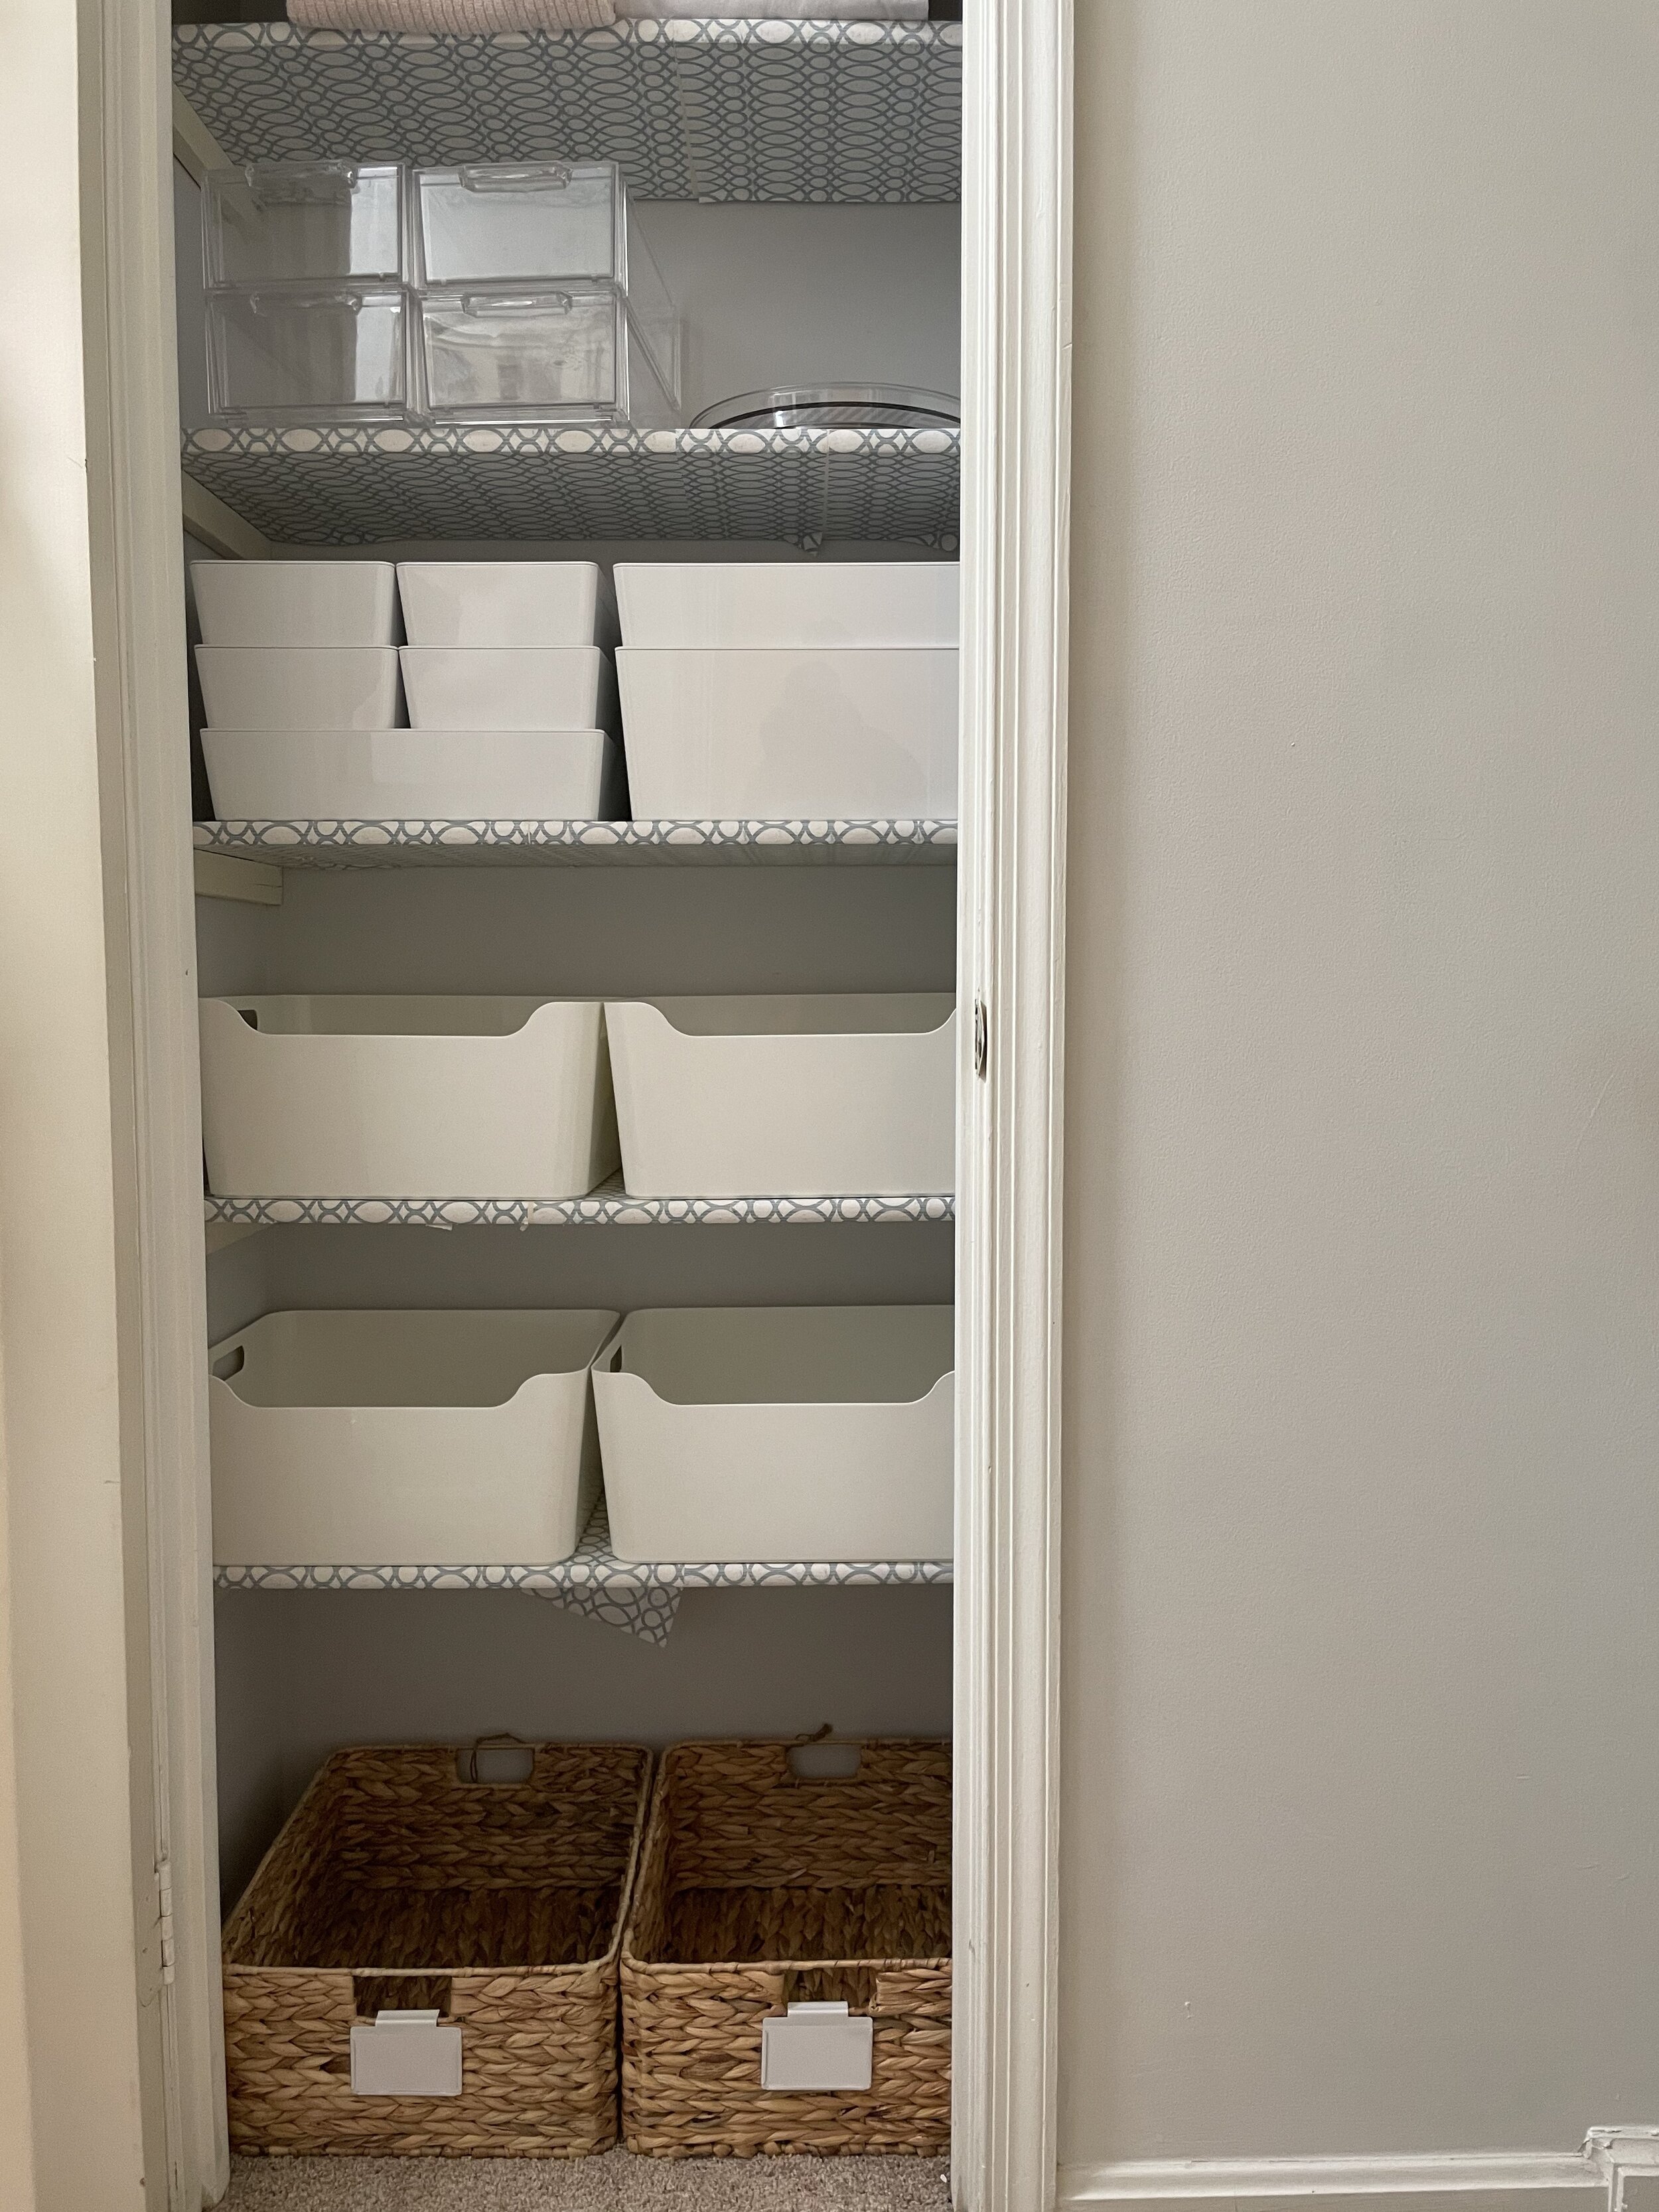
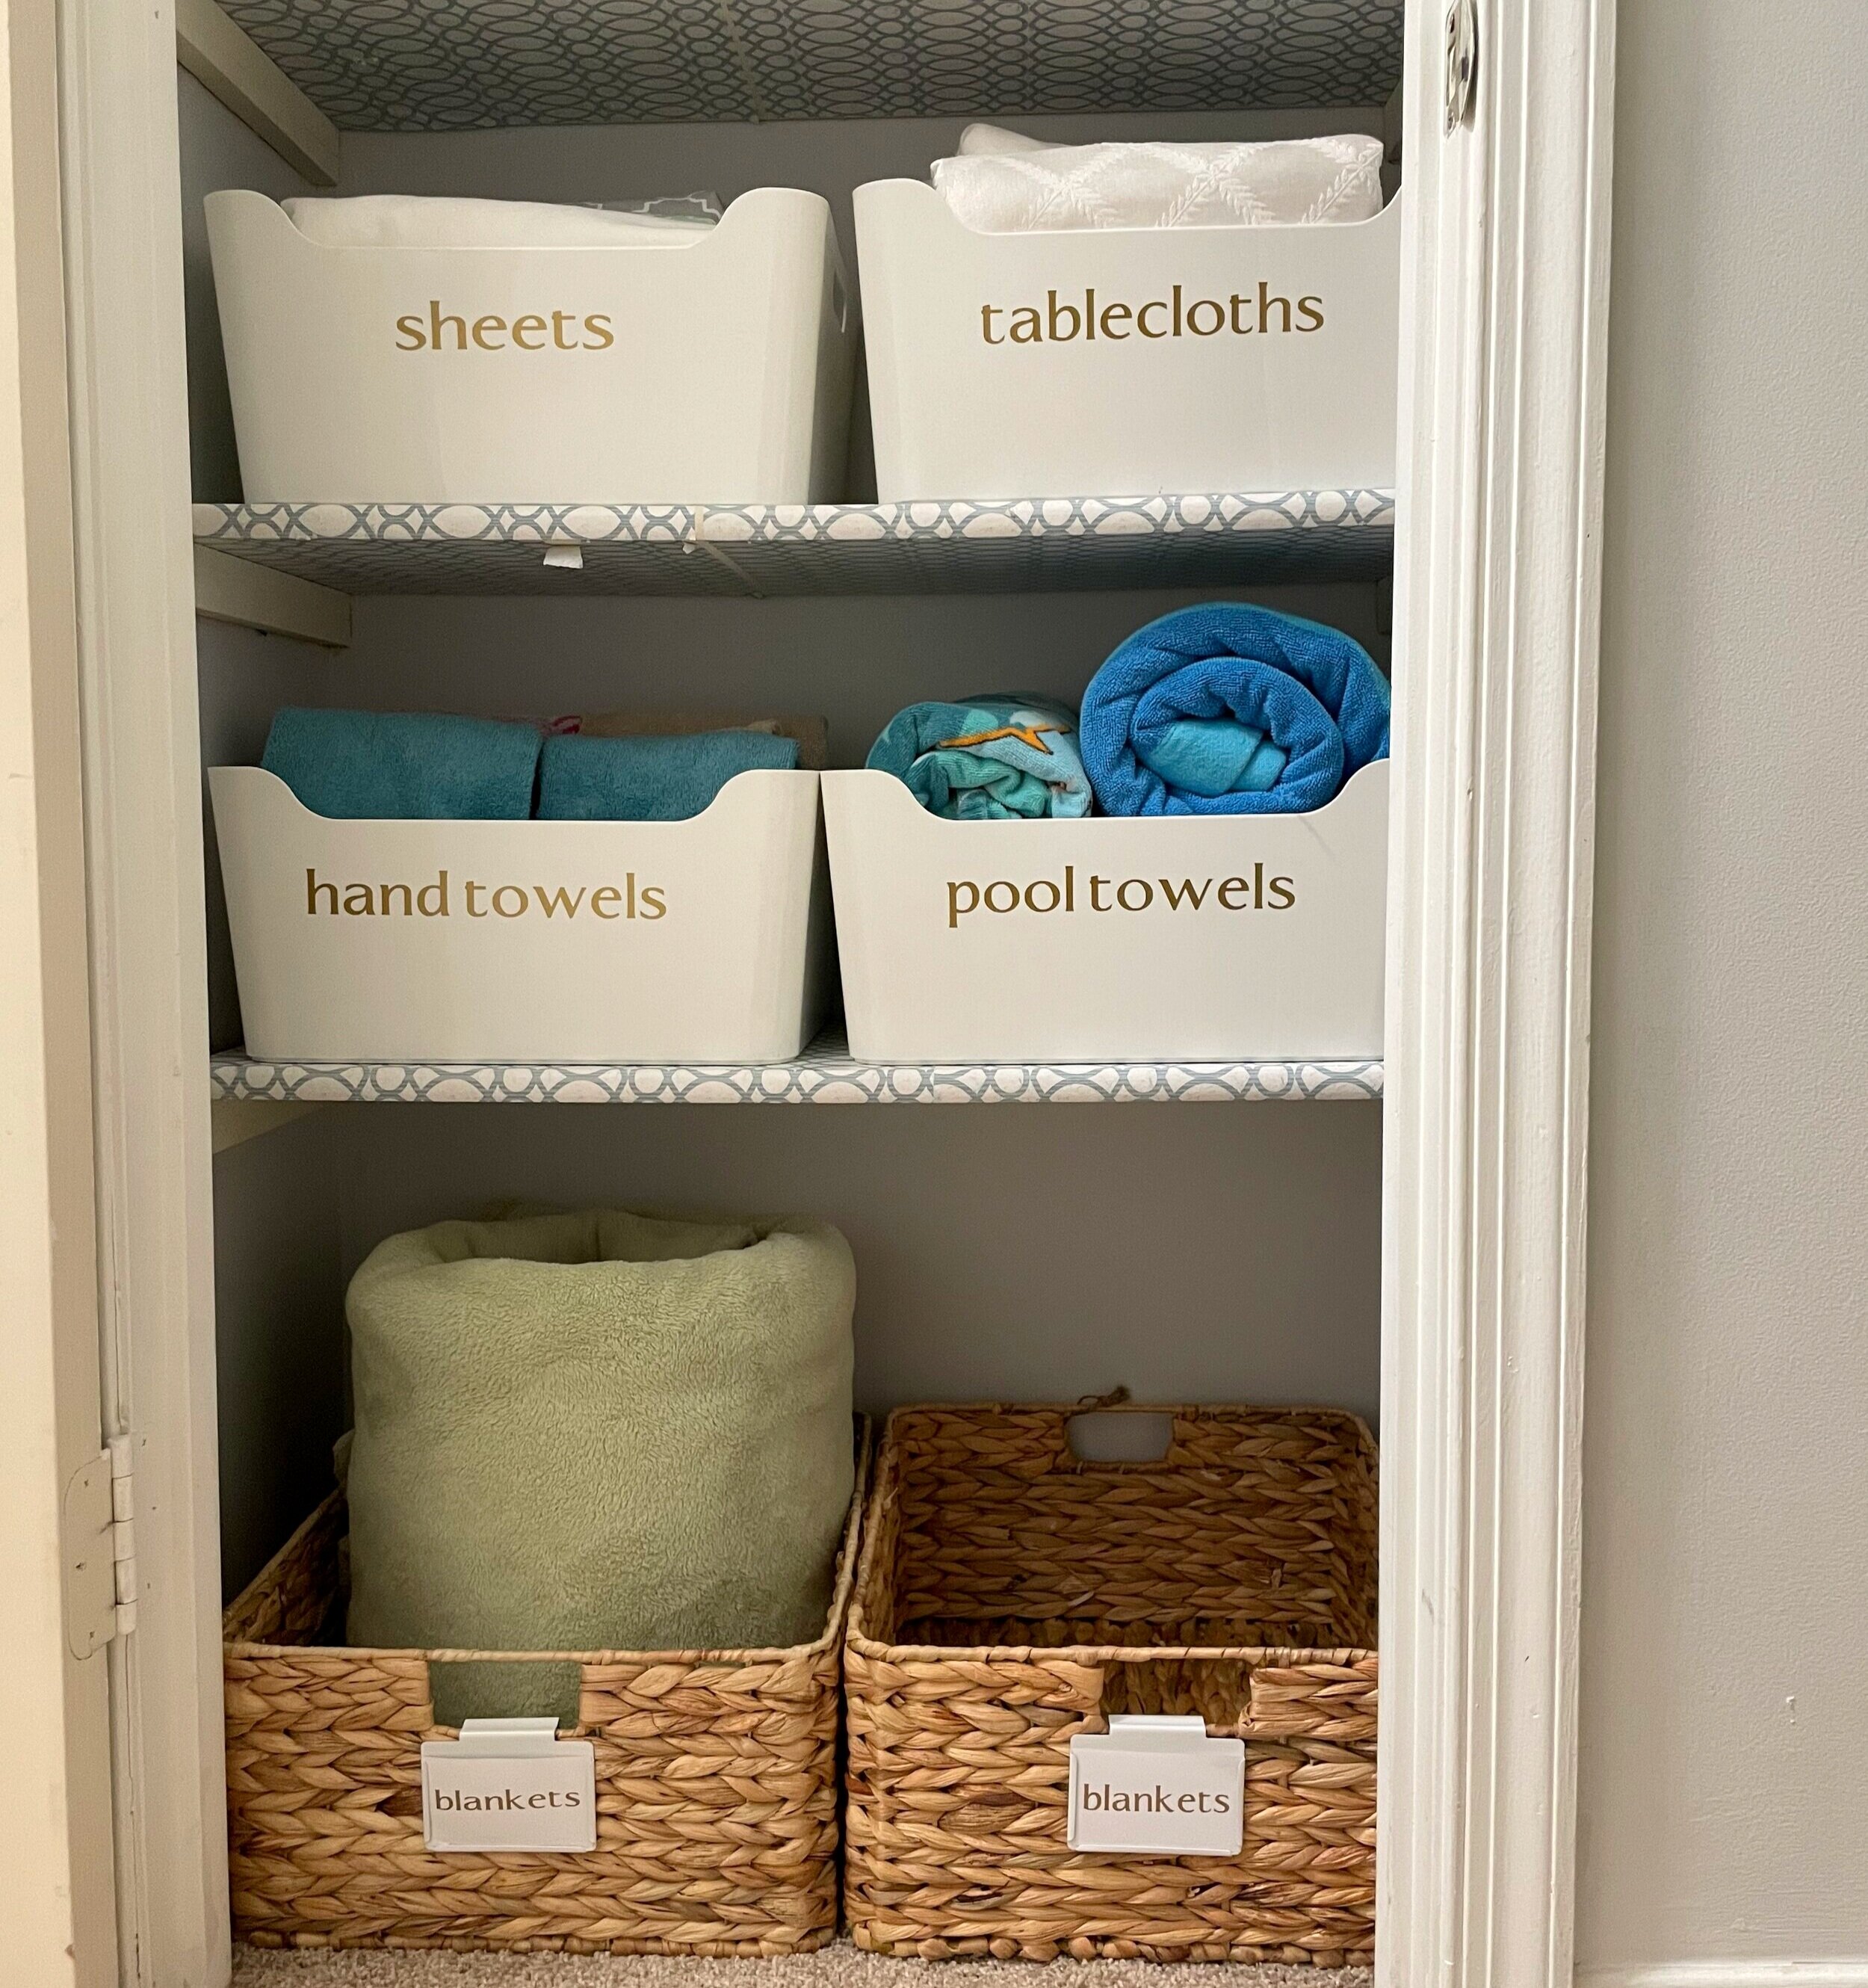
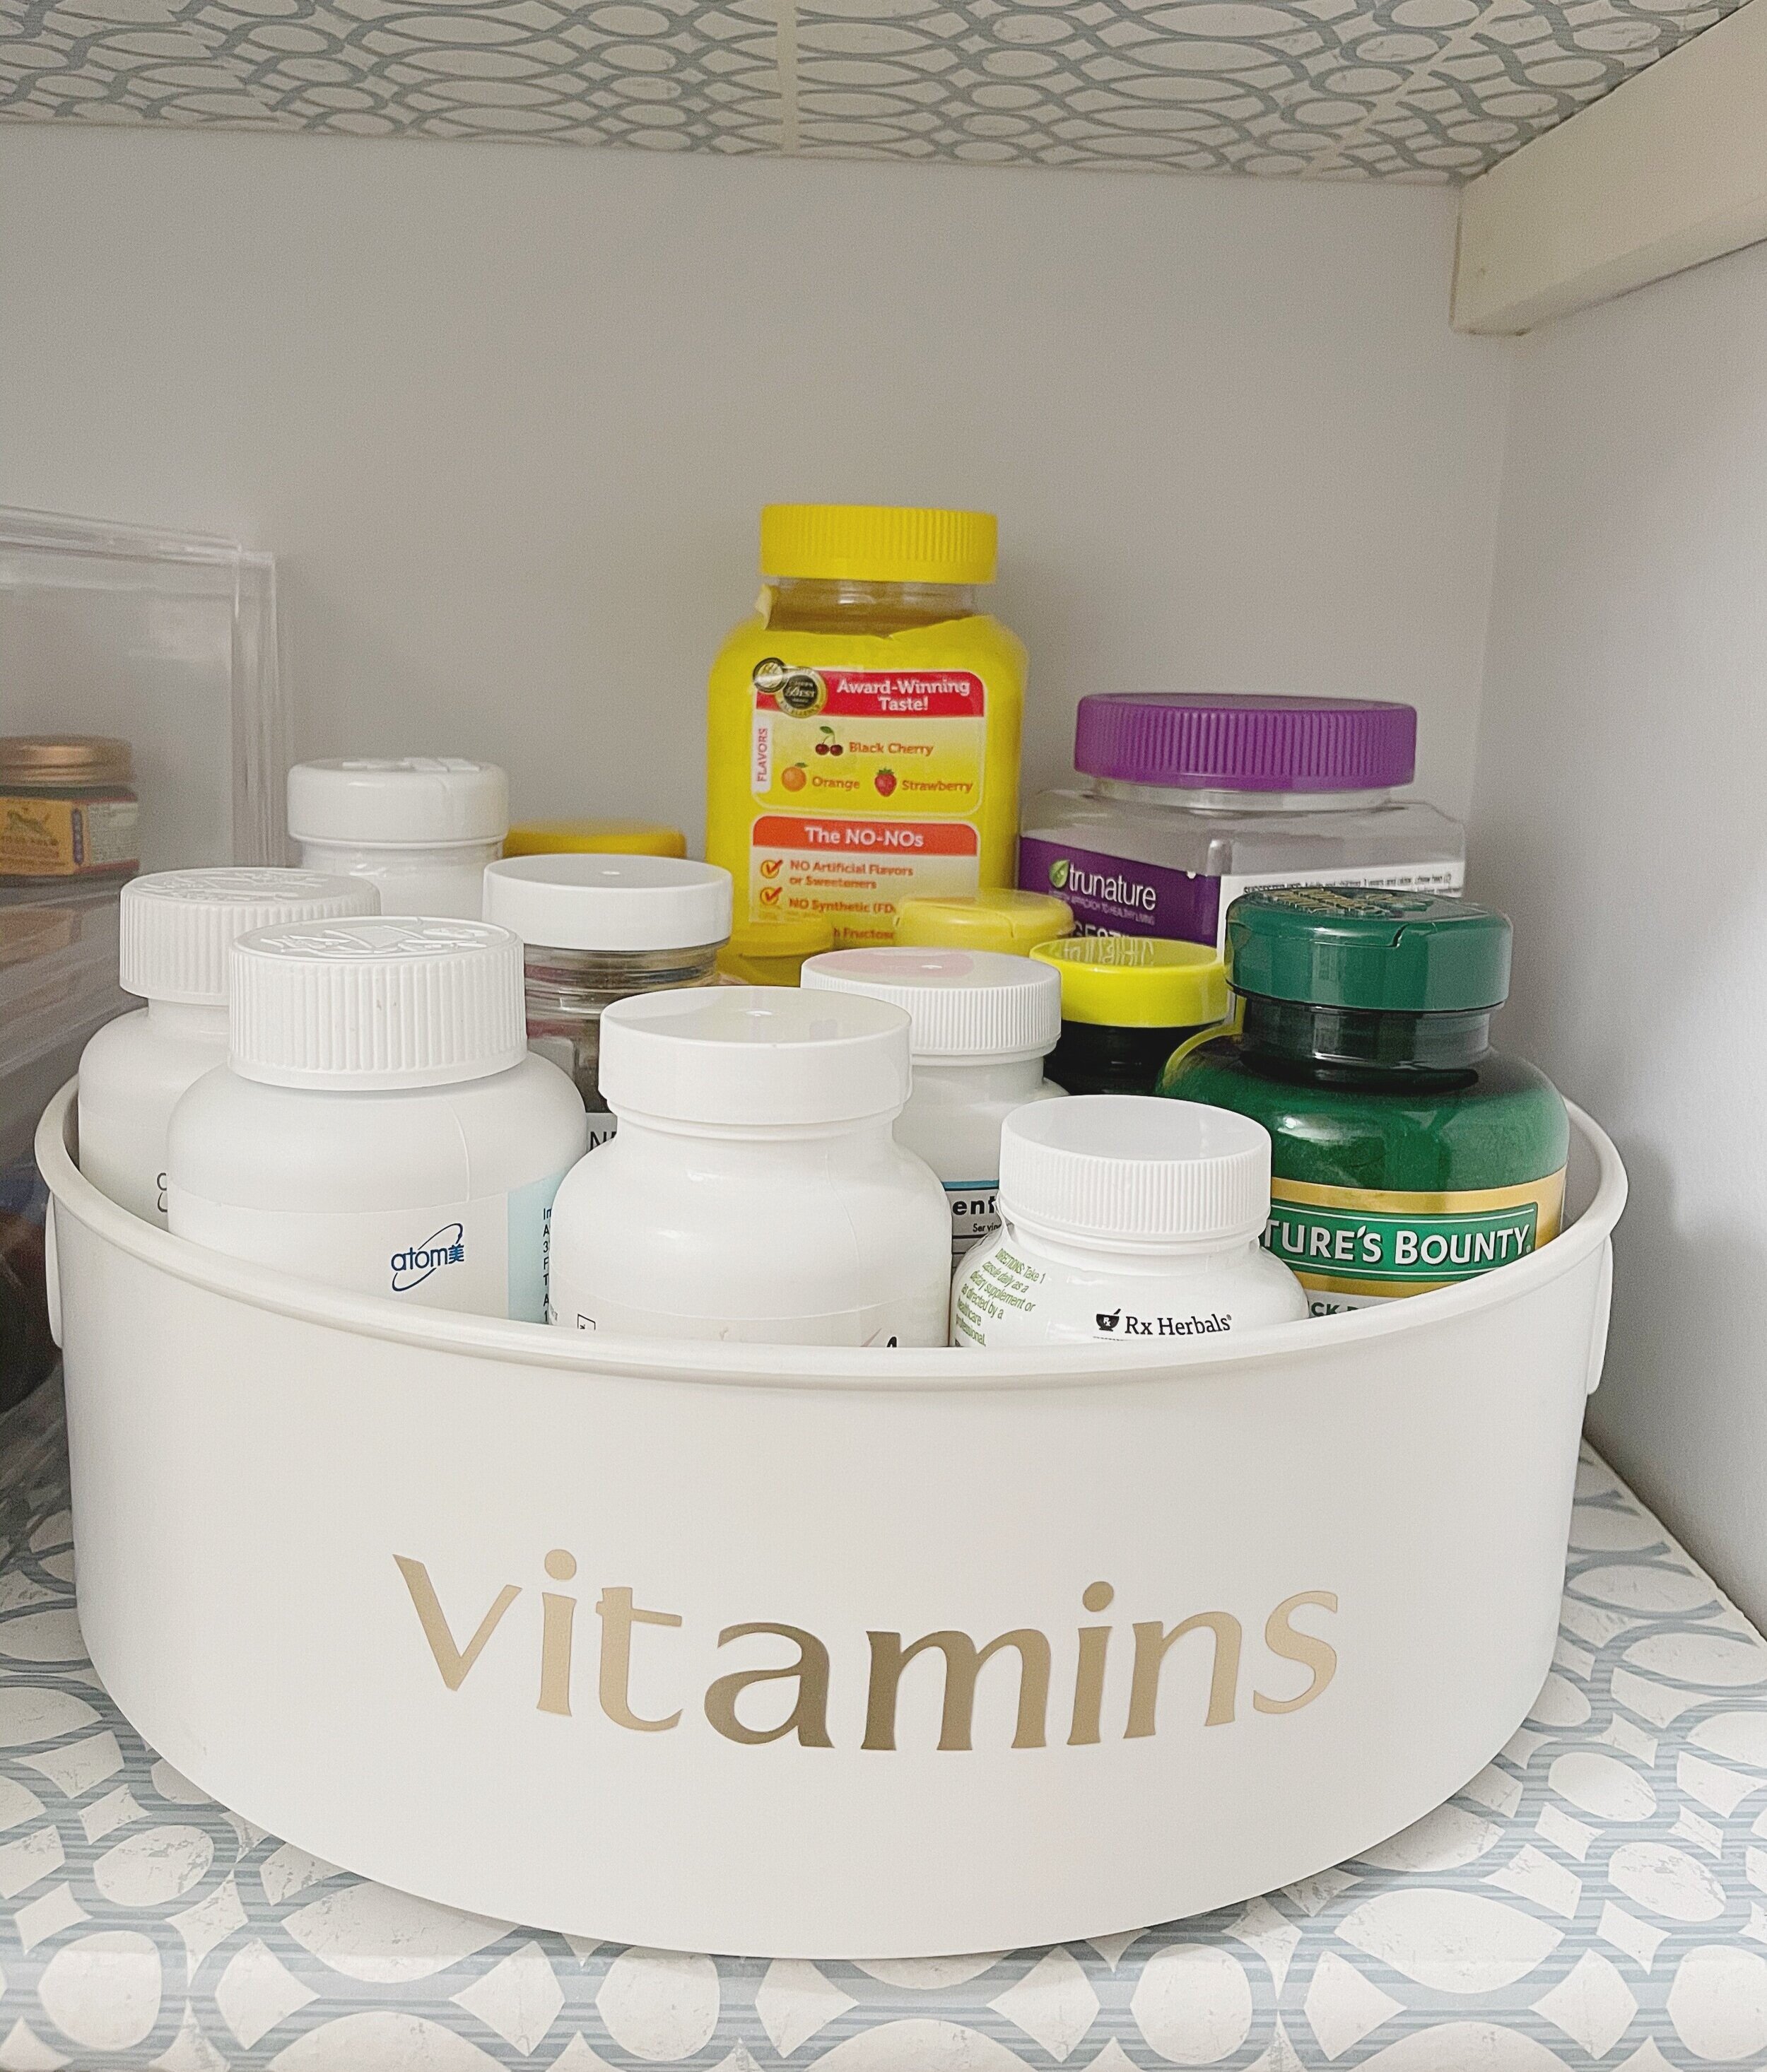
Step 1: Take it all out and edit the space, concentrate on only the things that will go back into the closet. Editing the space is essential to create organizing systems that last and are also maintainable. I knew for sure that all the baby towels and blankets were not making it back into the closet as well as any expired medicines and things we haven’t used since we moved. I decided to replace the baskets with deeper ones to maximize the shelving space. My old baskets though great baskets will be used in another space of the house, I already have a plan for them.
Step 2: Measure the space when creating organizing systems and purchasing products always, always, always measure your space to make sure the baskets and bins fit the space. Oftentimes, this is the step that many people skip and give up but I cannot stress enough that measuring and designing a space to completely maximize it is so important to reach your ultimate goal. It might take time and research to come up with the right products but the results will be worth the work and investment.

Step 3: Label all the things! An organizing system is not complete without labels. Because this is such an important part of getting and staying organized, I’m going to walk you through the process of creating labels with the easy-to-use Cricut Joy and Smart Materials.
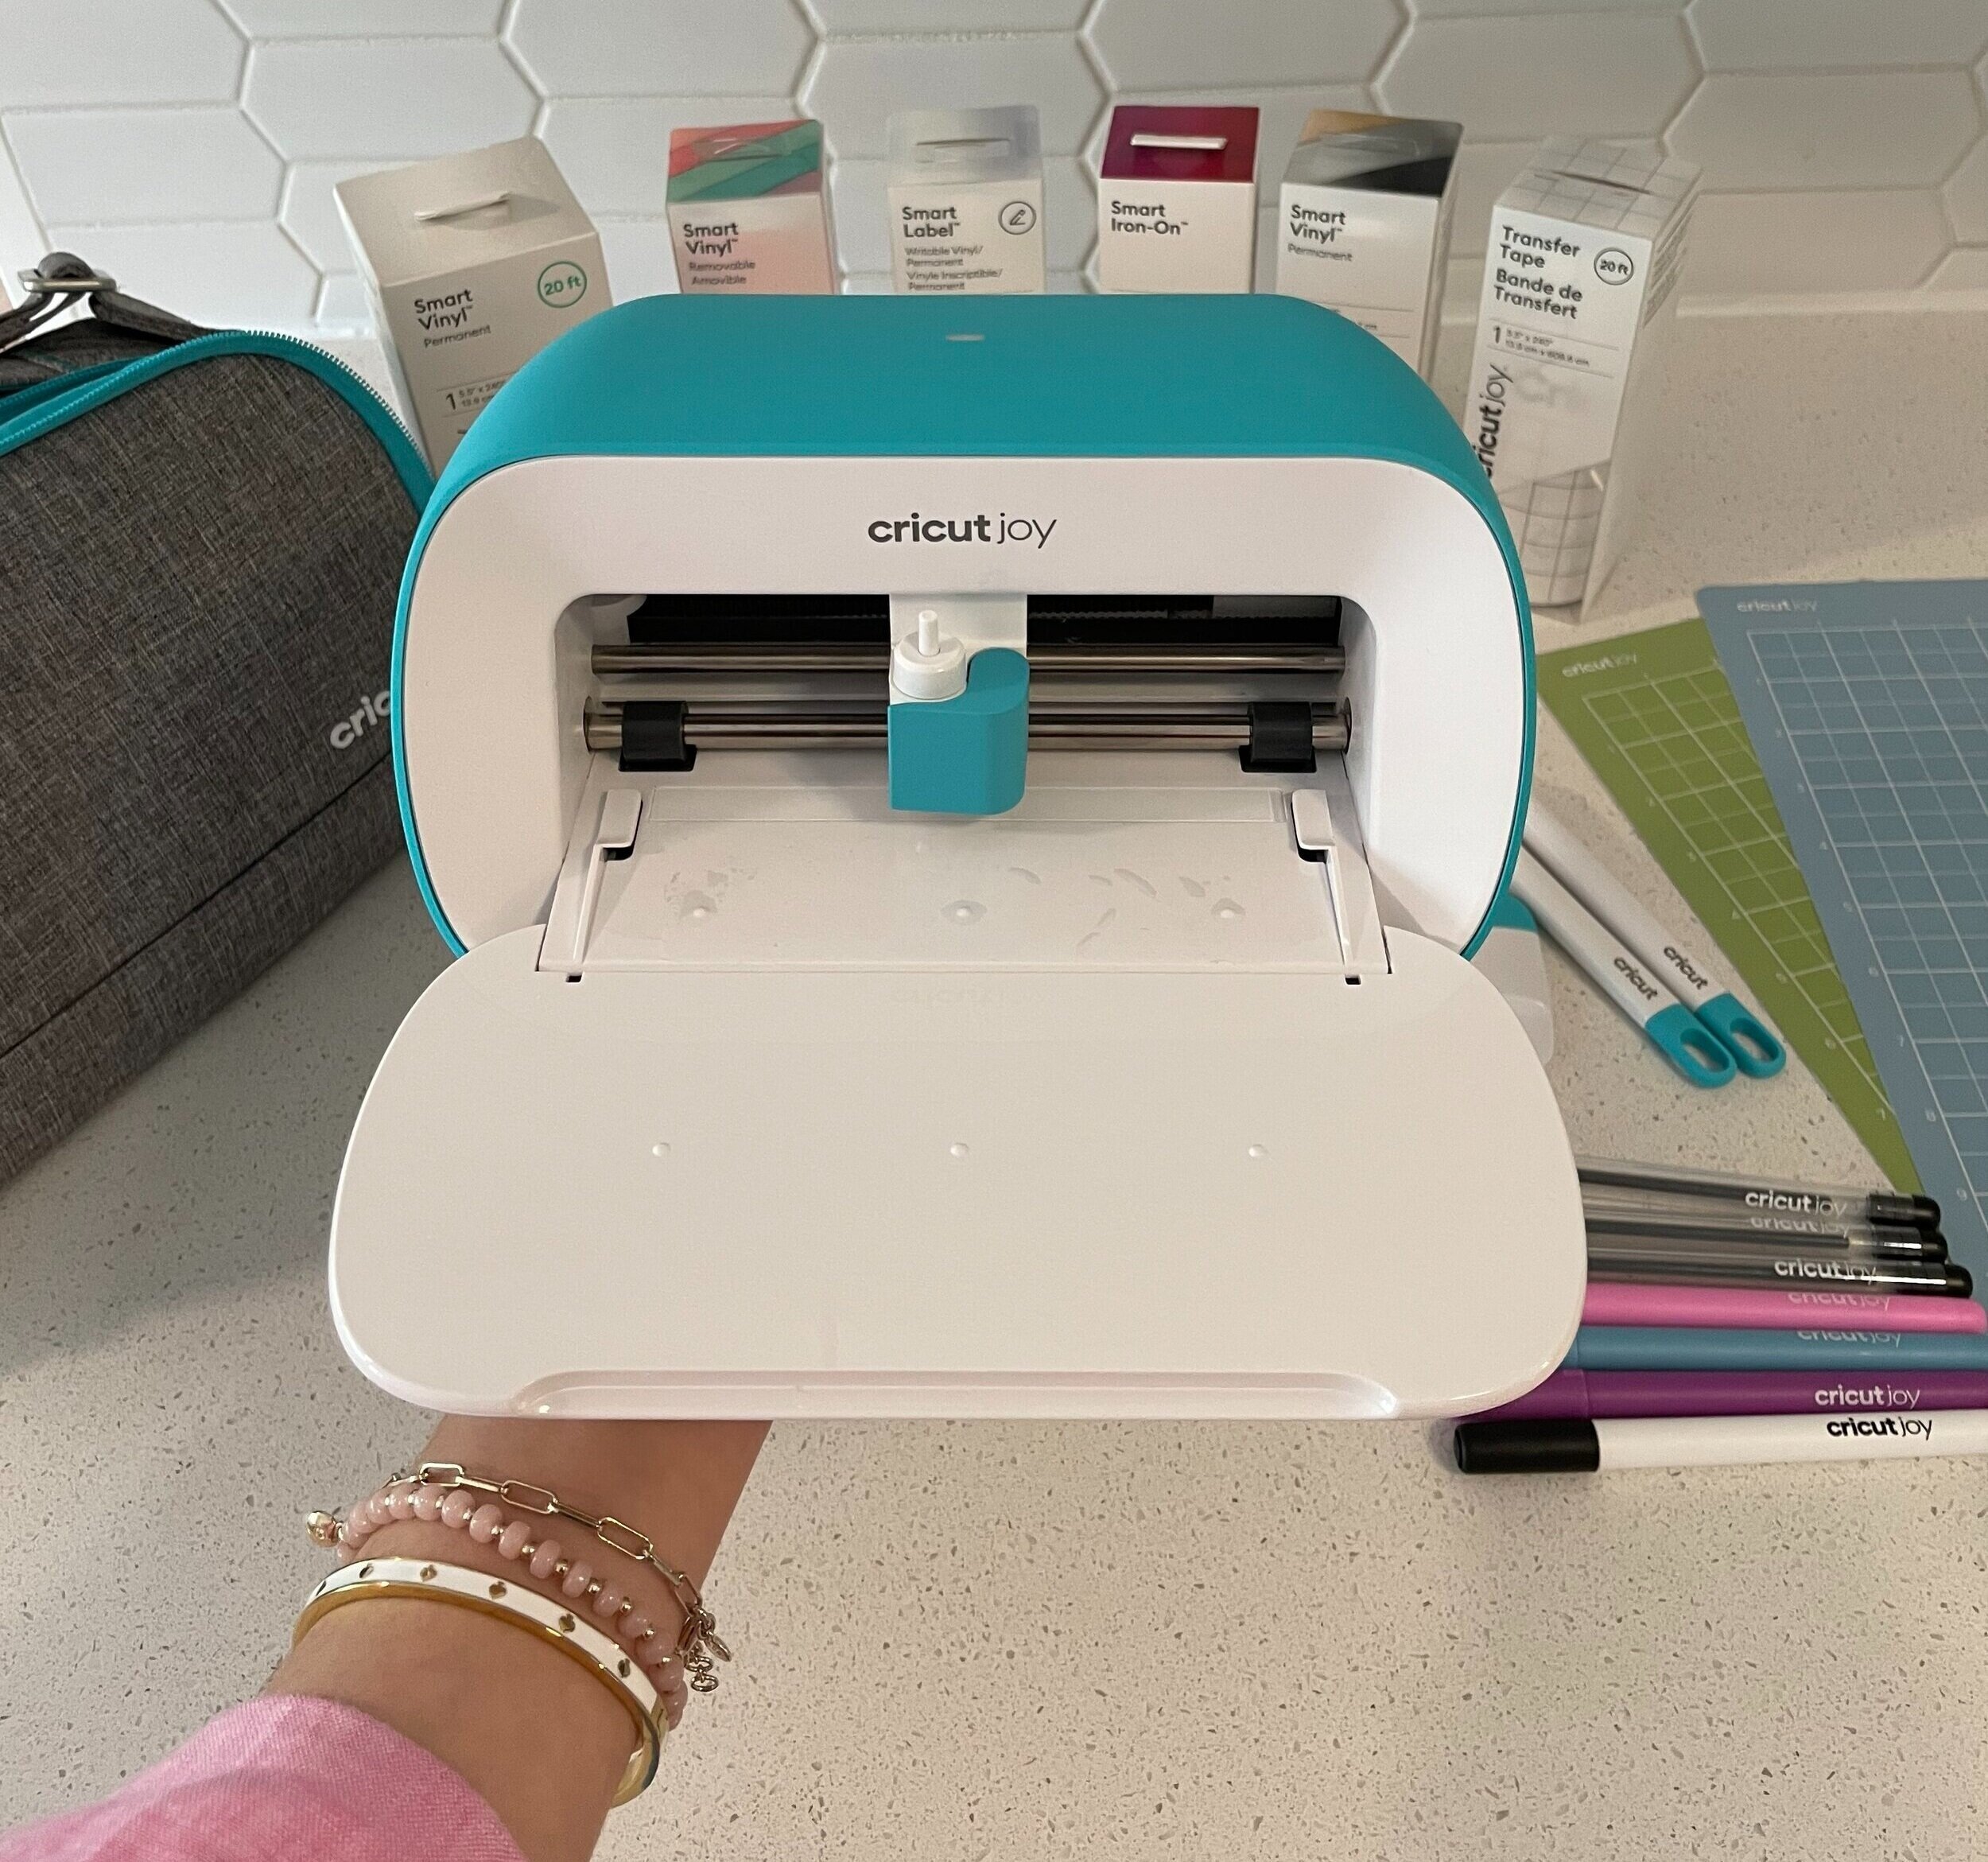
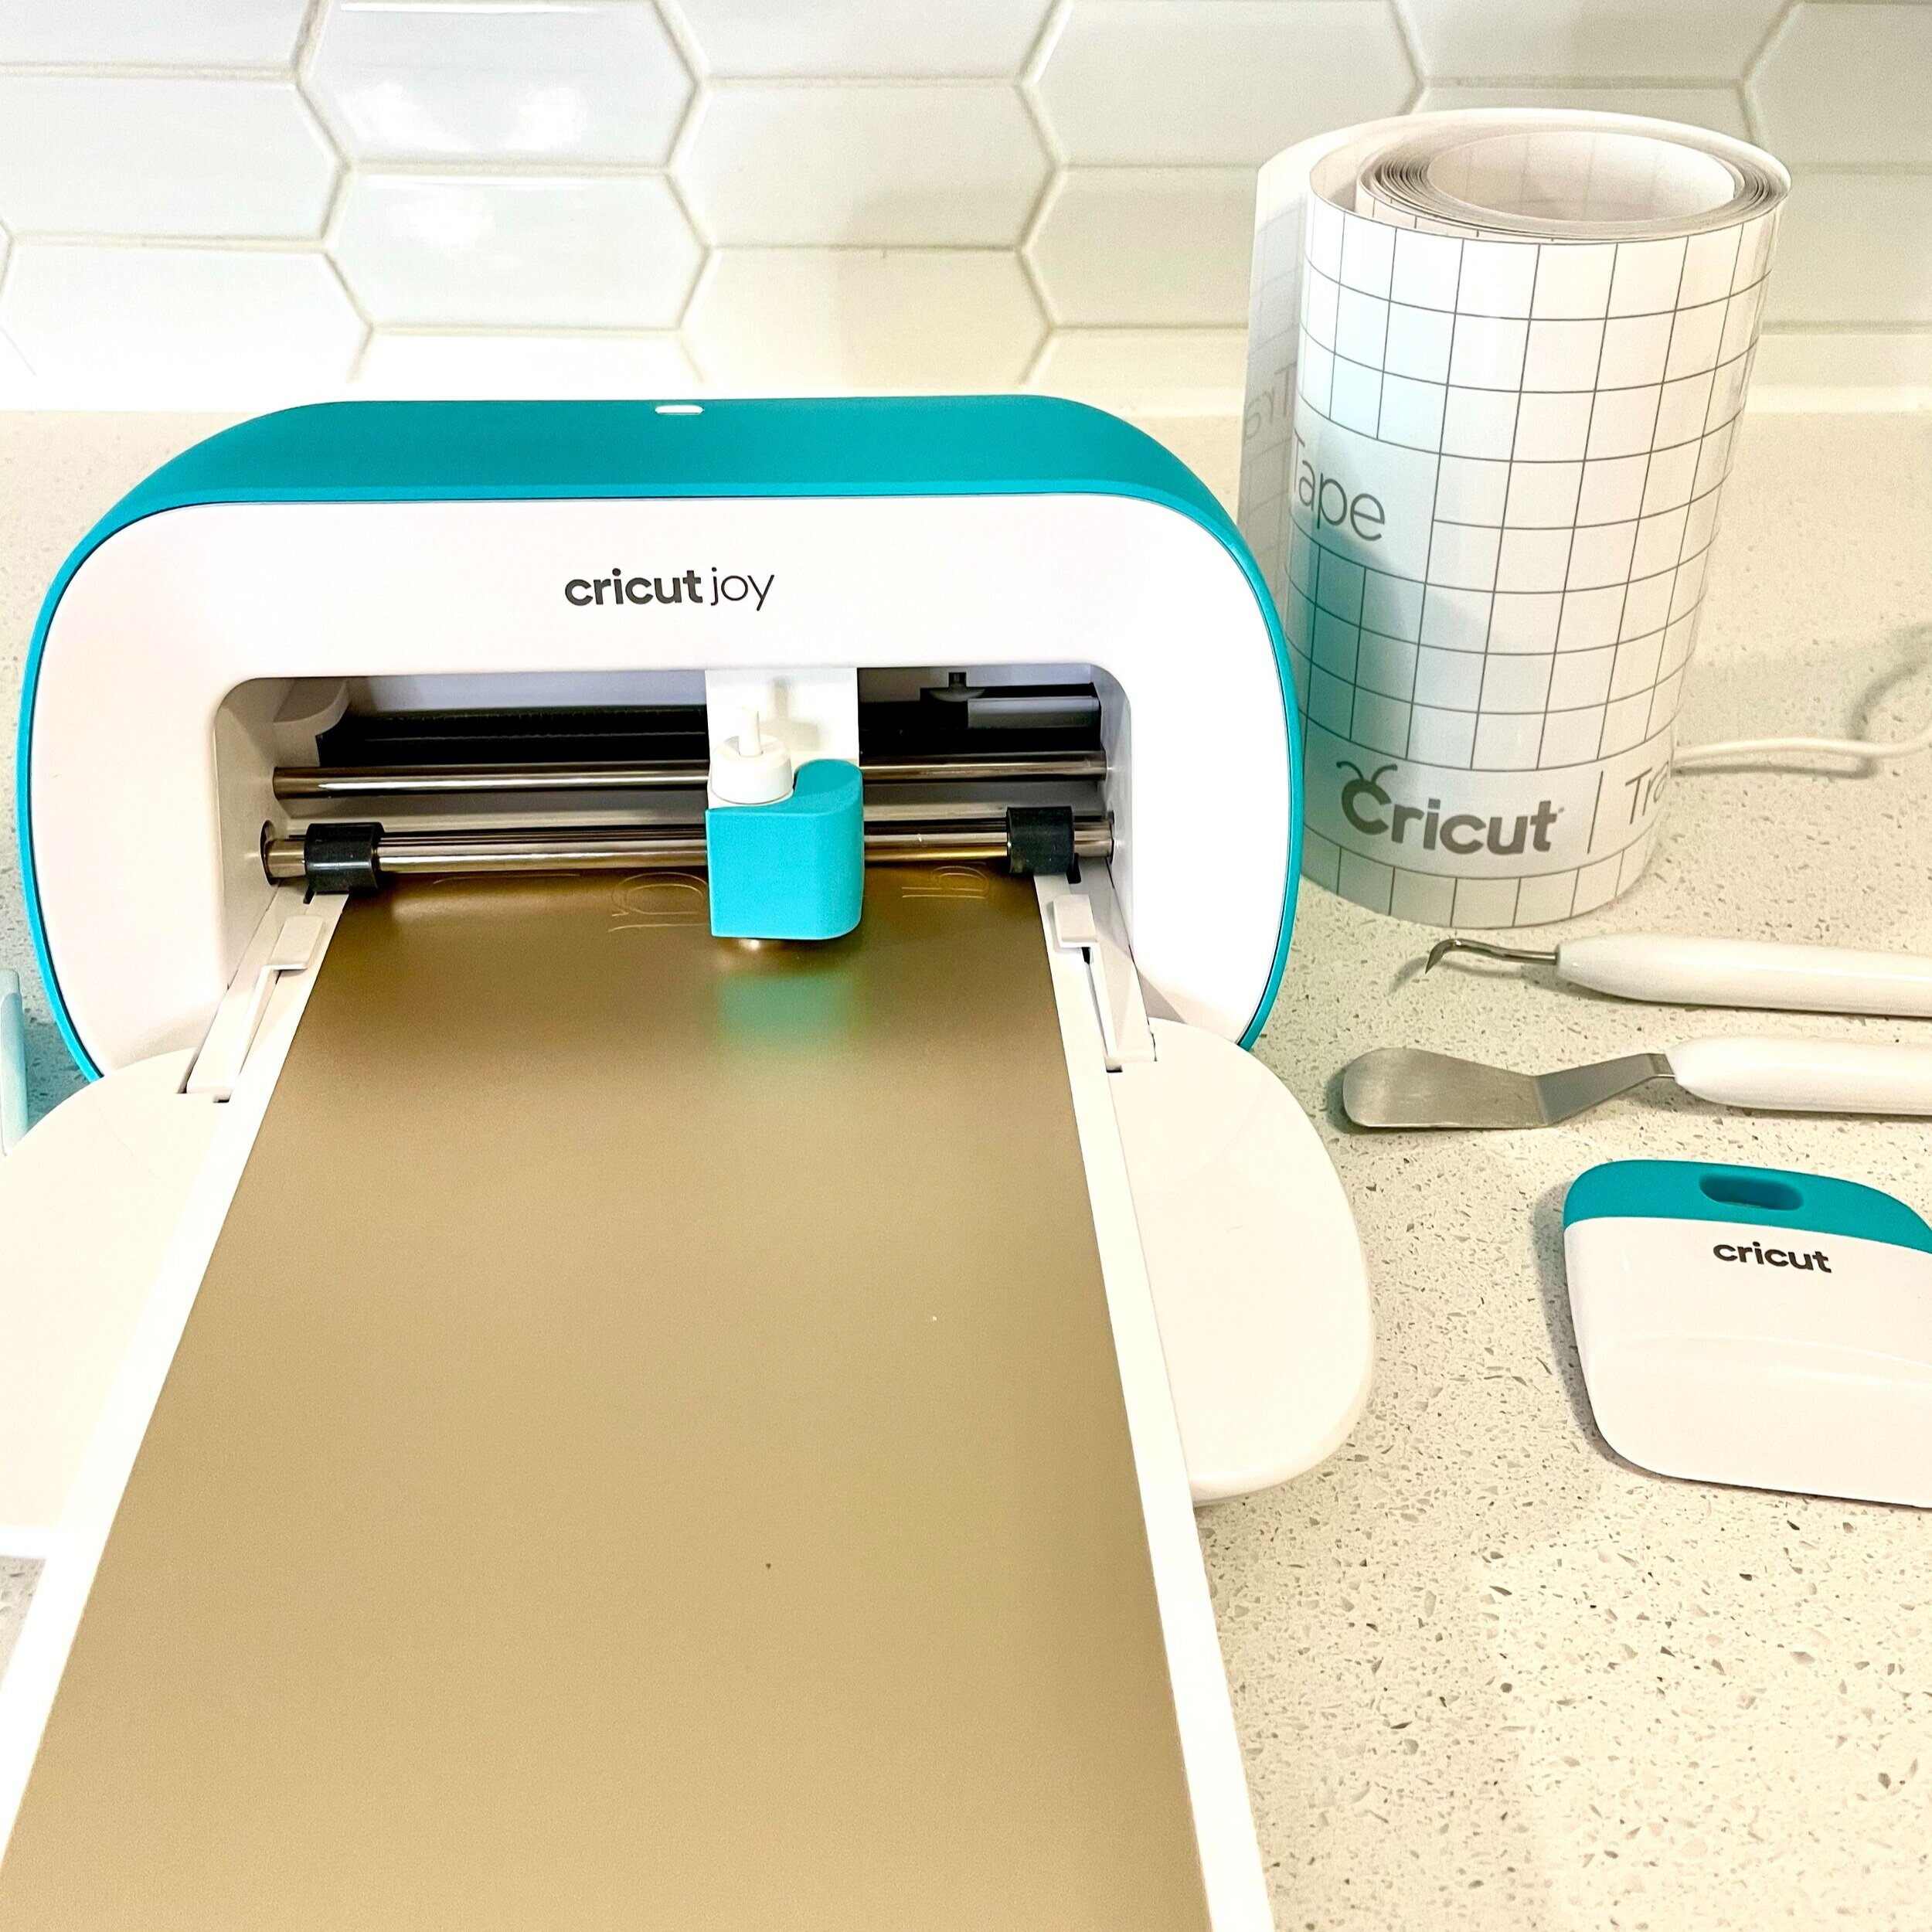
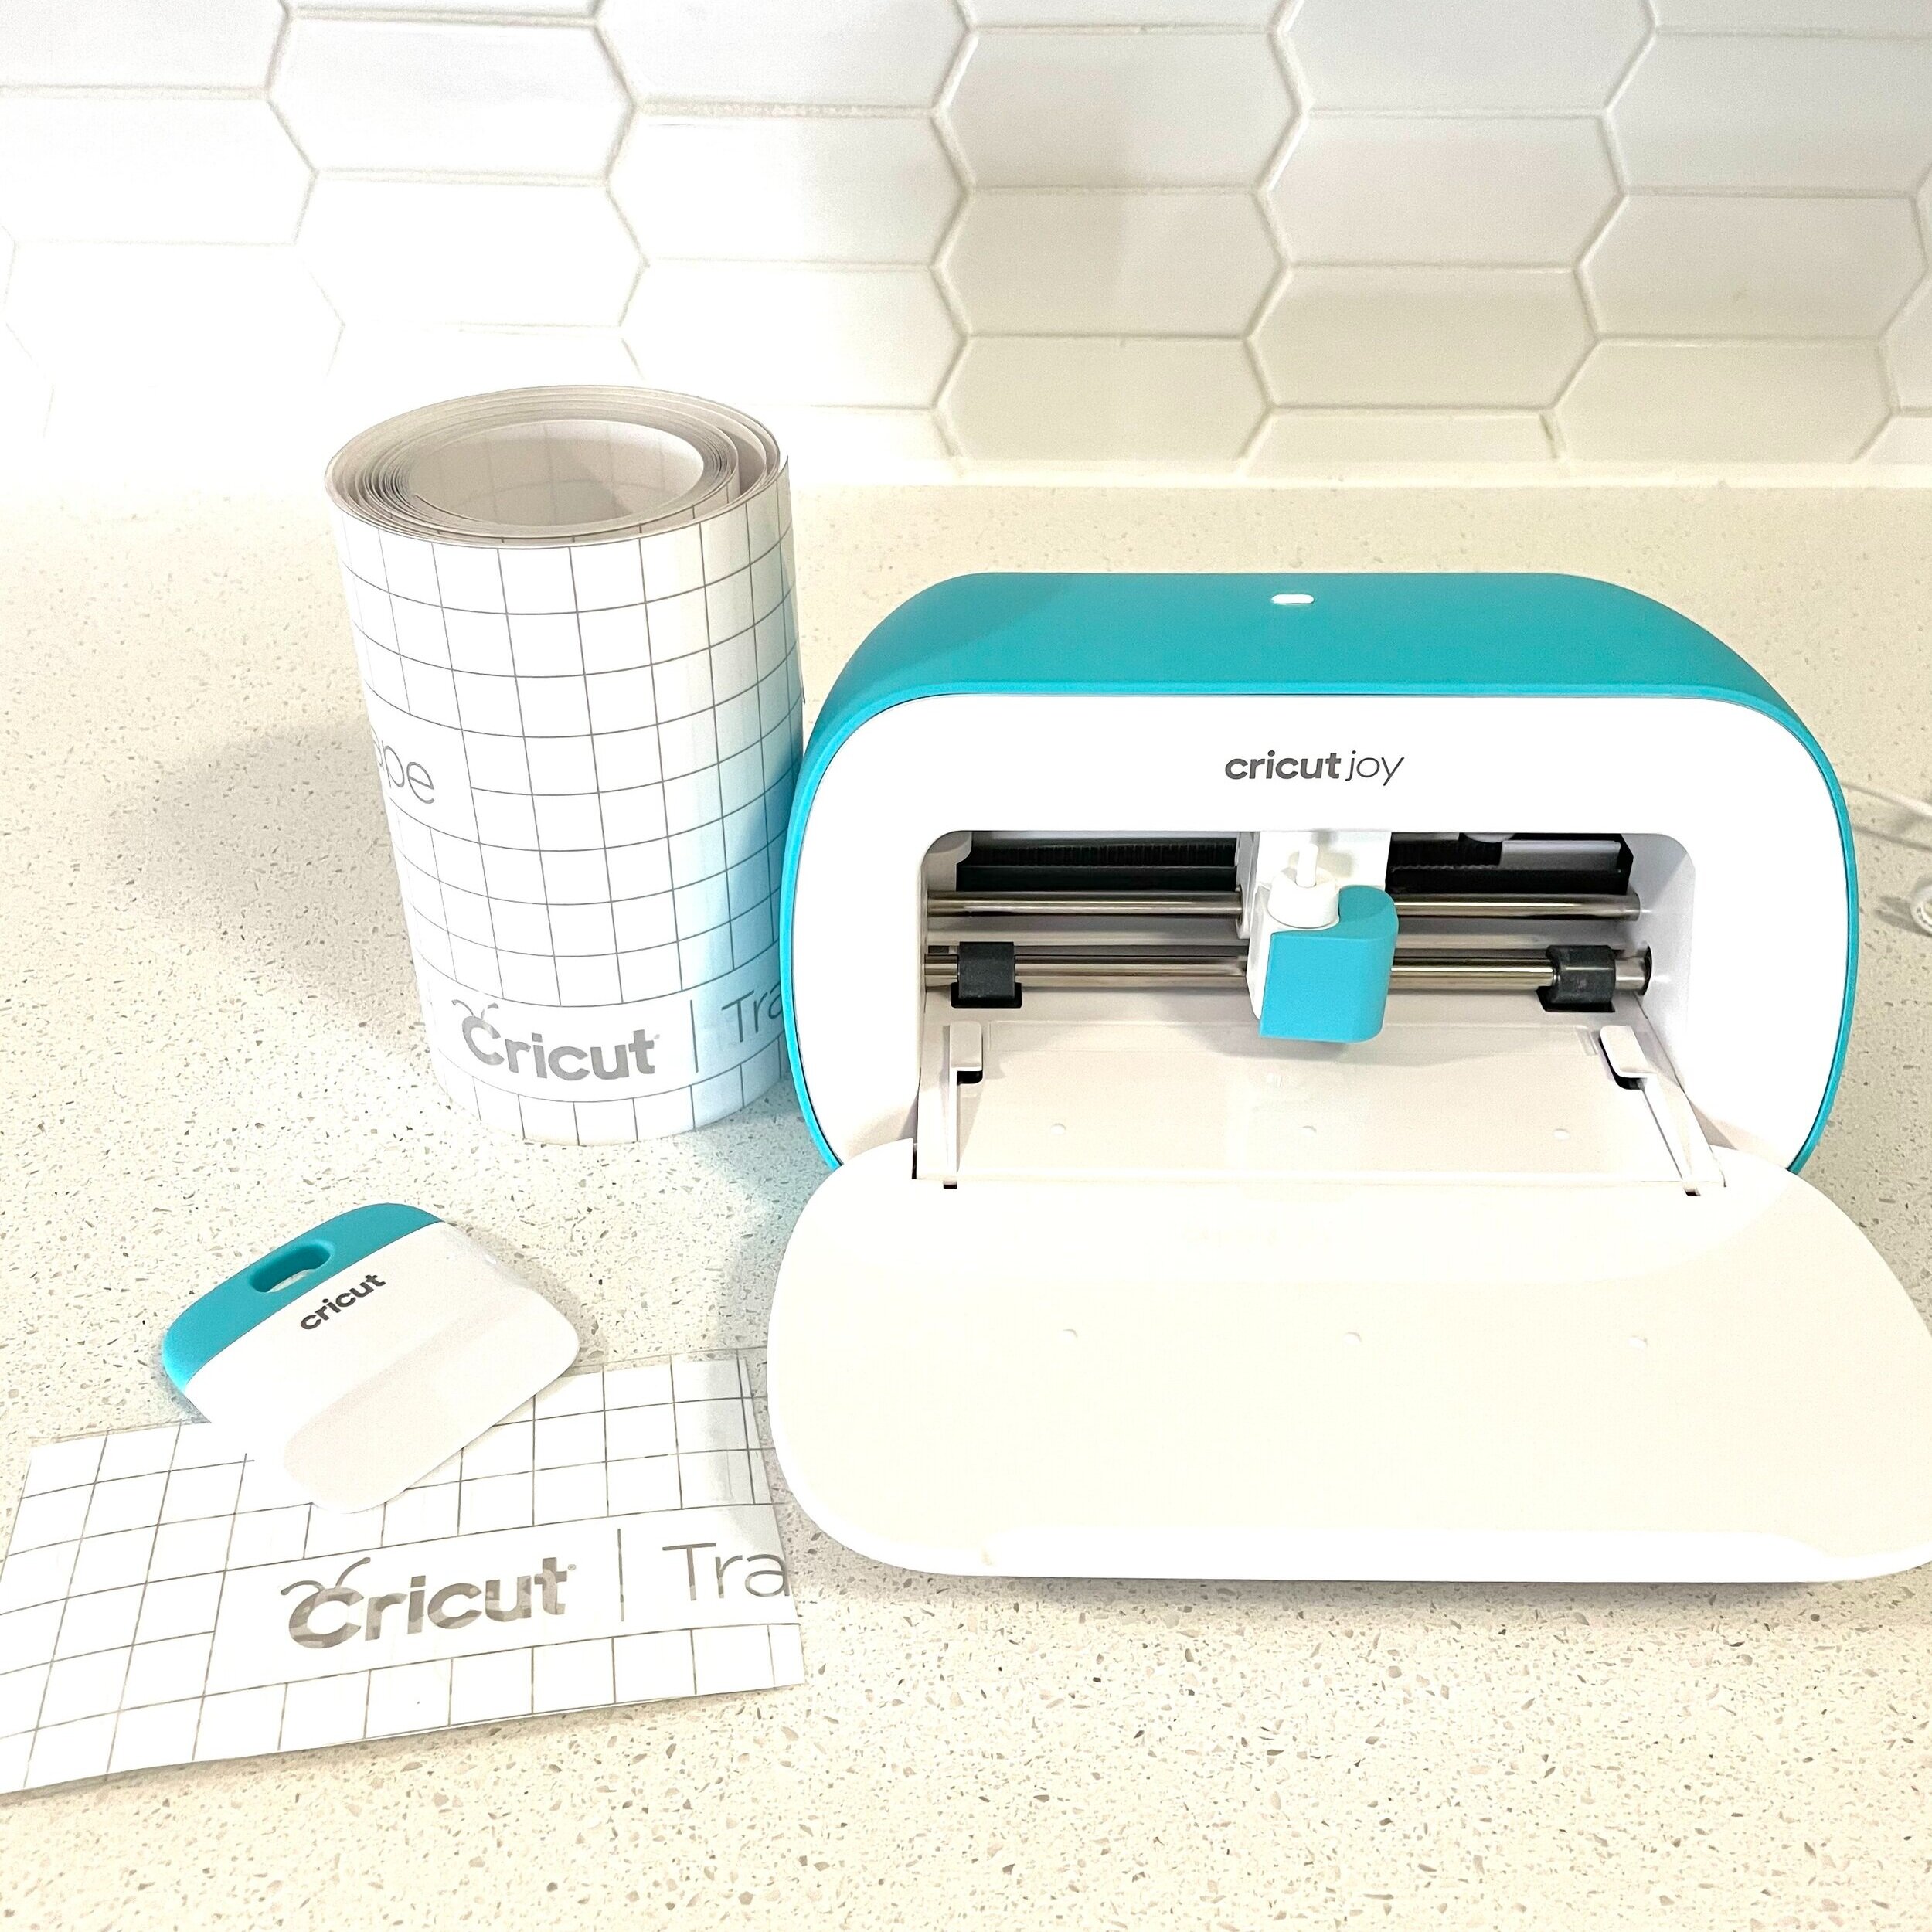
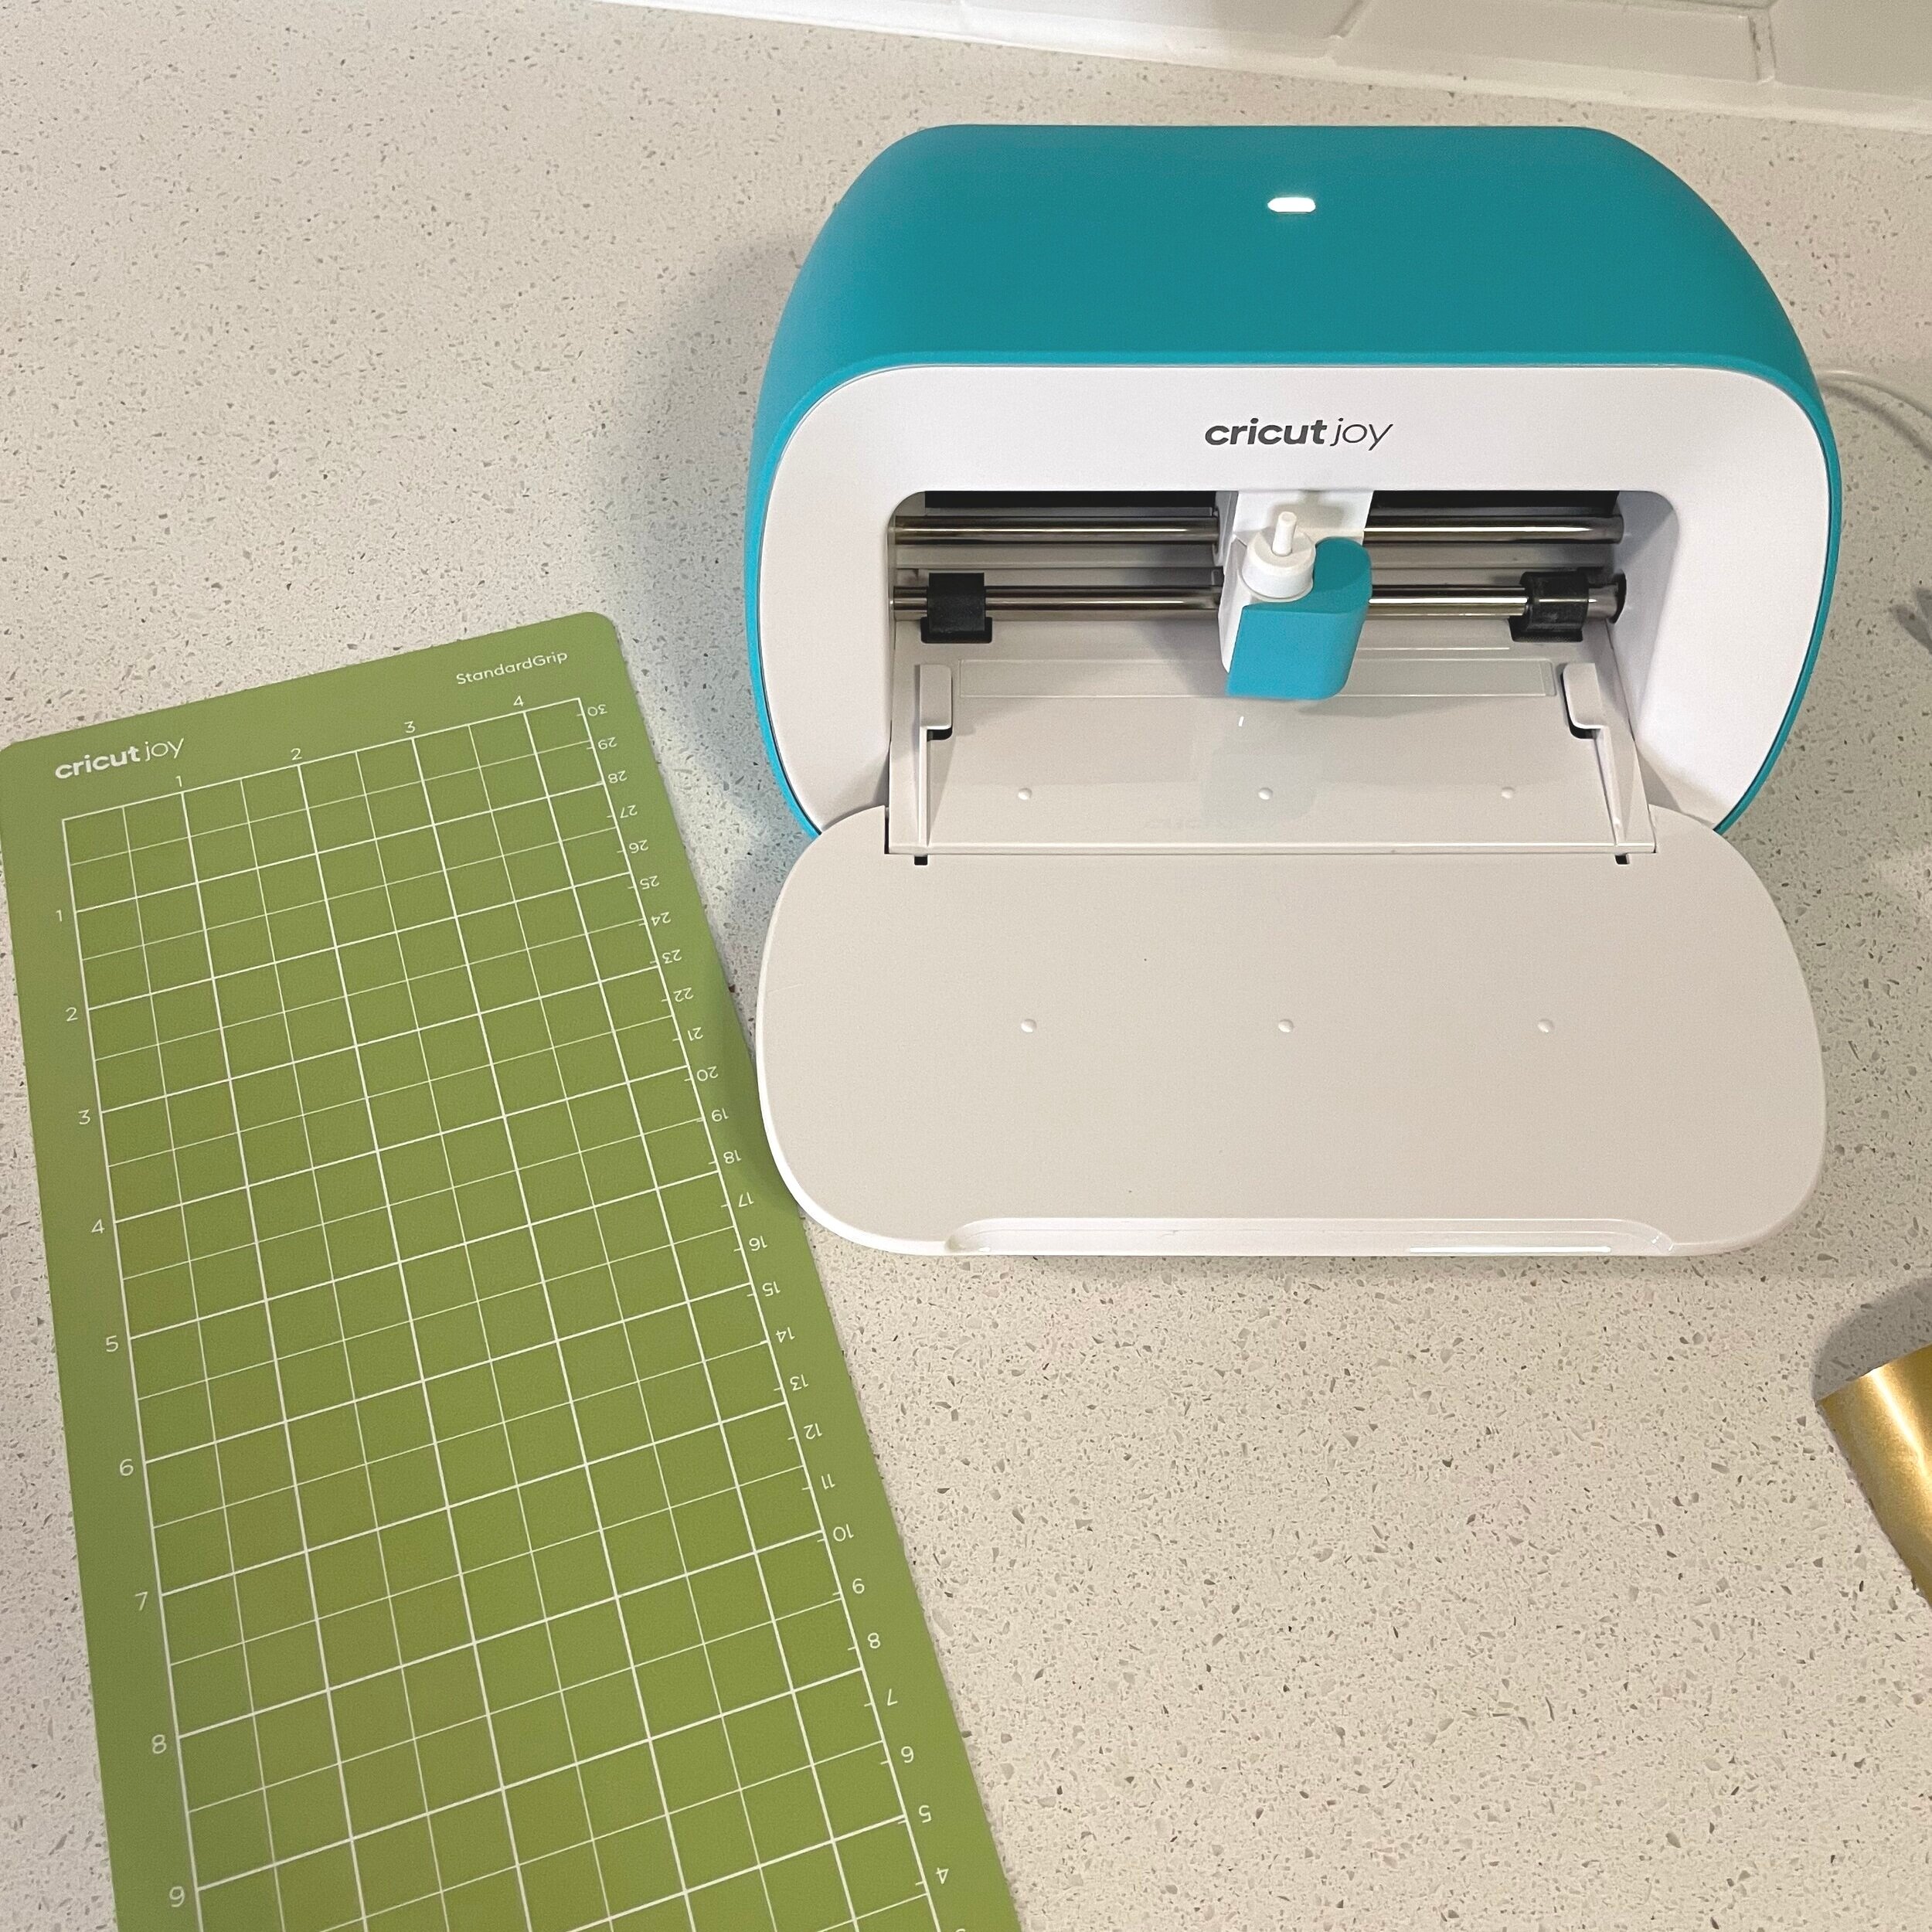
Out of the box, the Cricut Joy is an easy-to-use, plug and play, cutting and writing machine. The setup can be done on a computer, phone, or tablet. Since the Cricut Joy is portable, I decided to download the app on my iPhone and quickly registered the machine and started creating the labels on the Cricut Design Space app. Cricut Access has unlimited use of fonts and images that you can use to create labels and so much more.
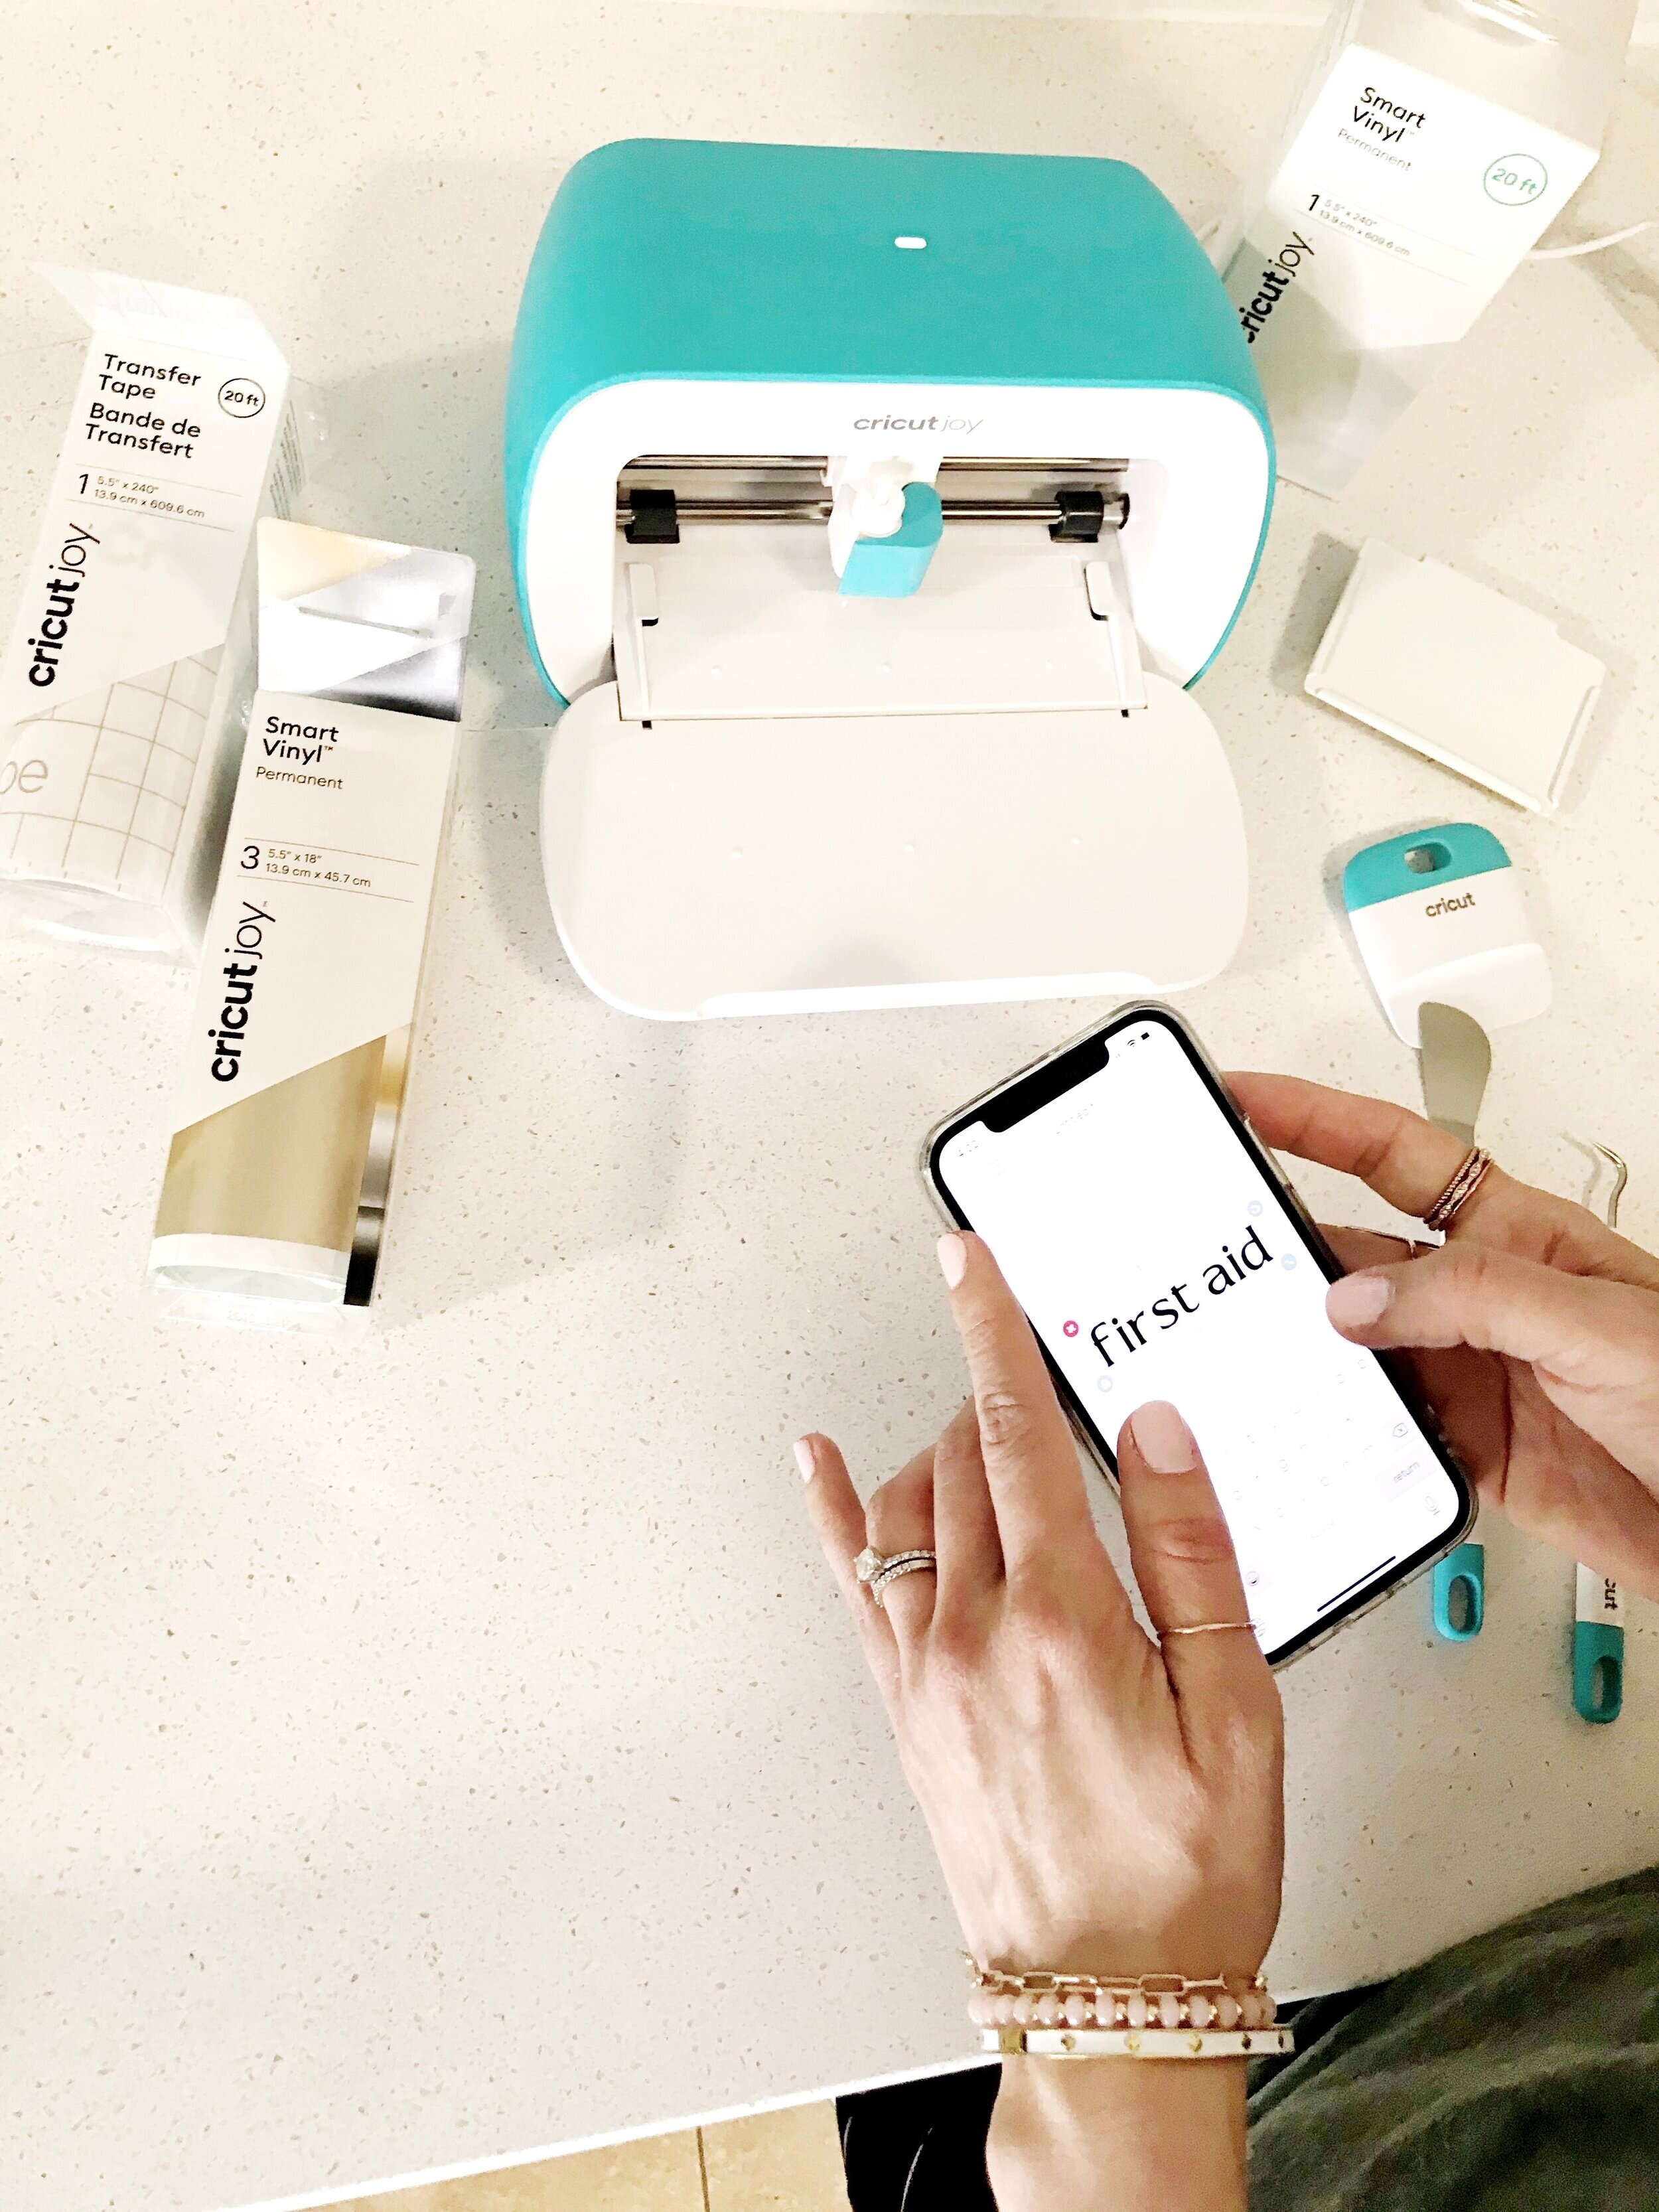
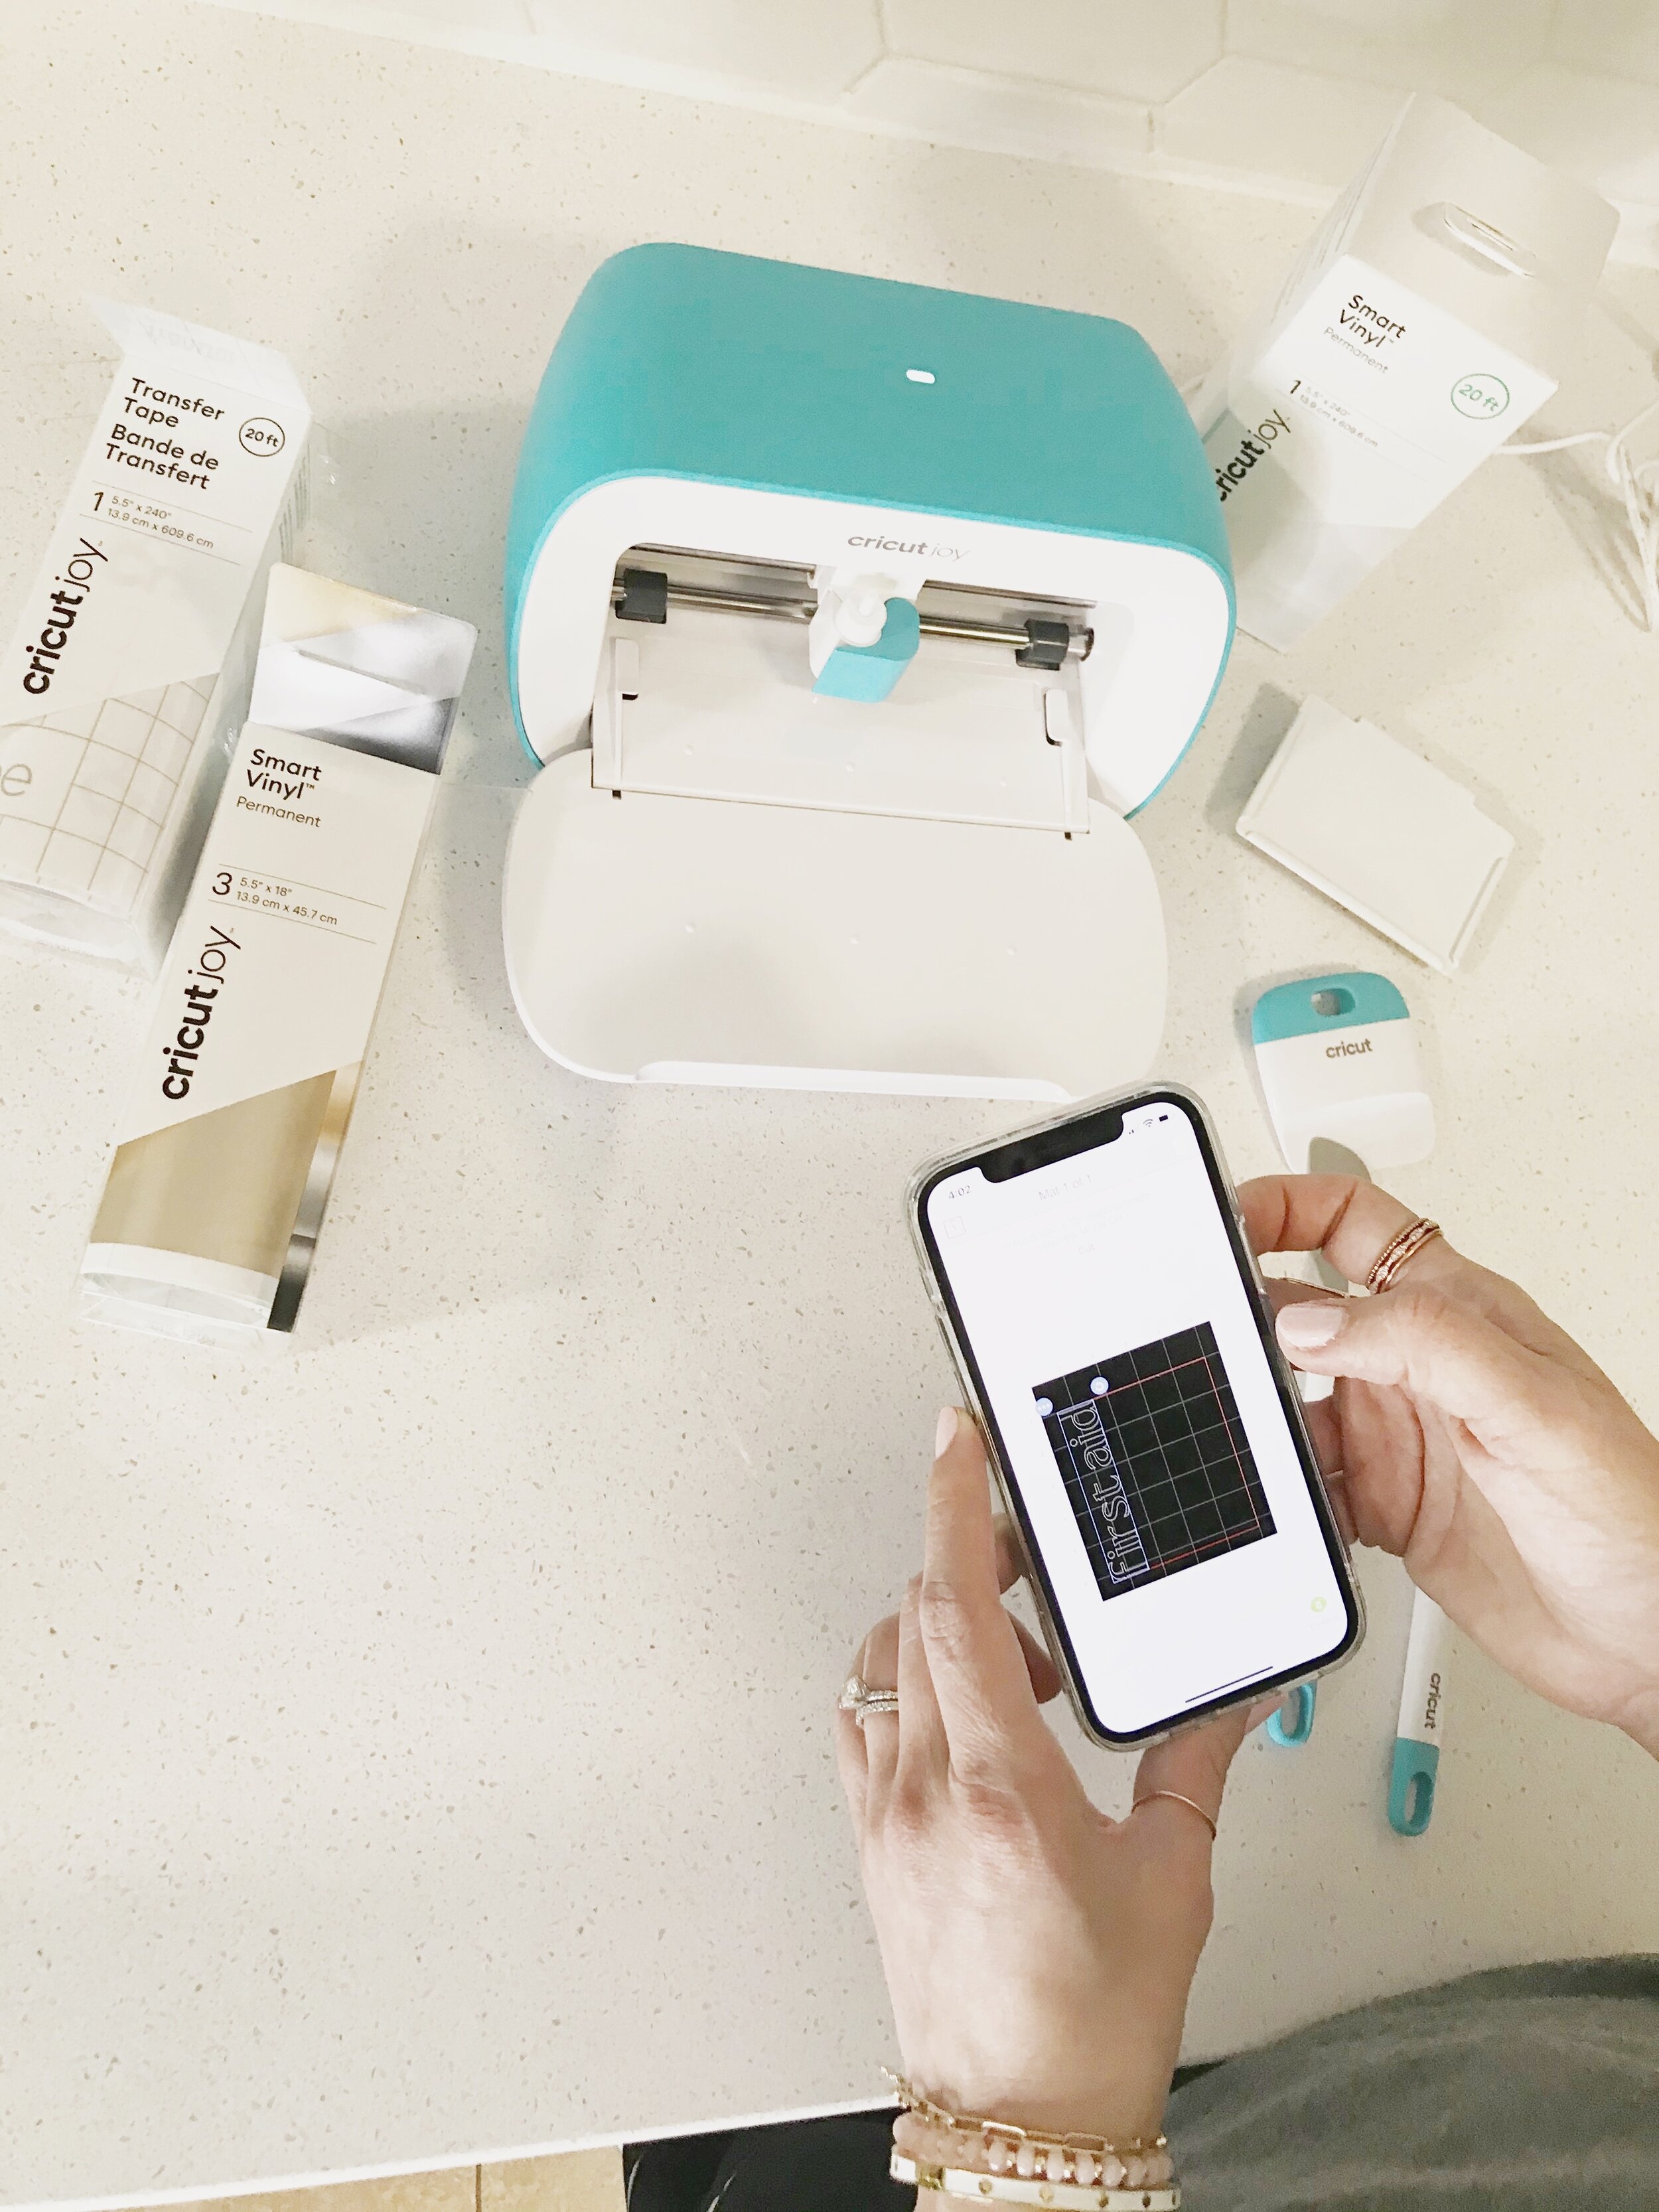
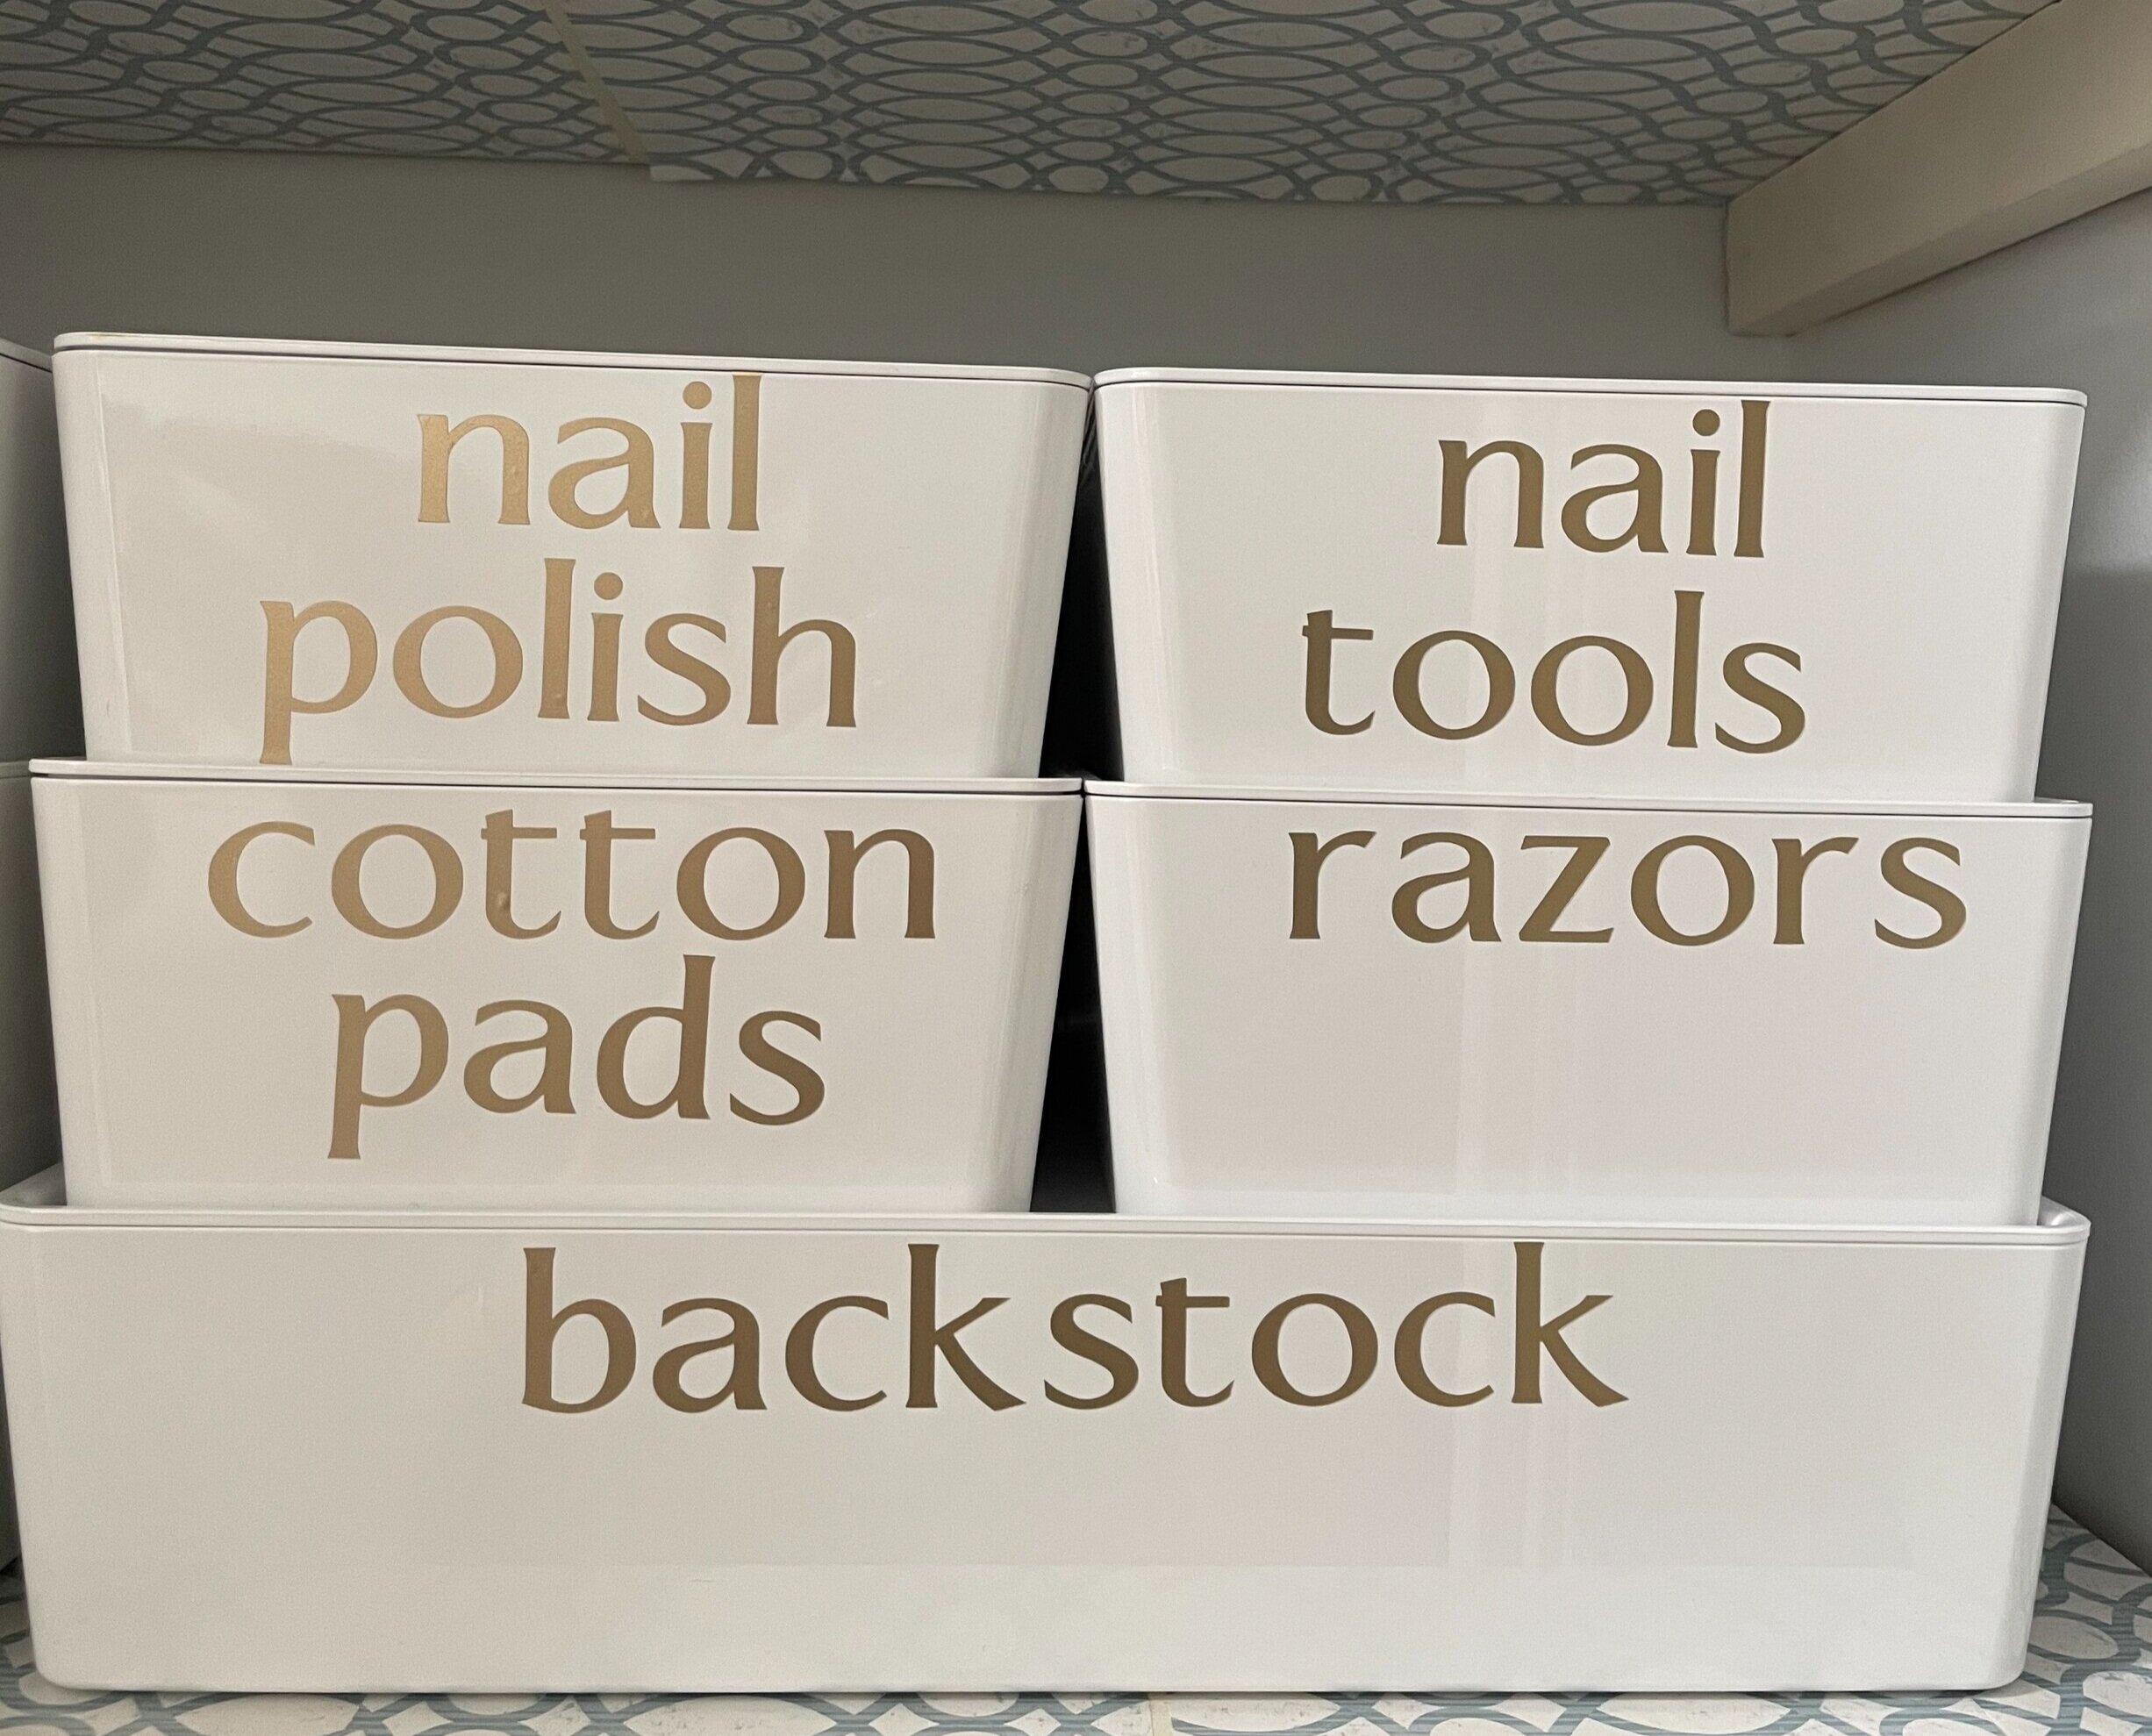
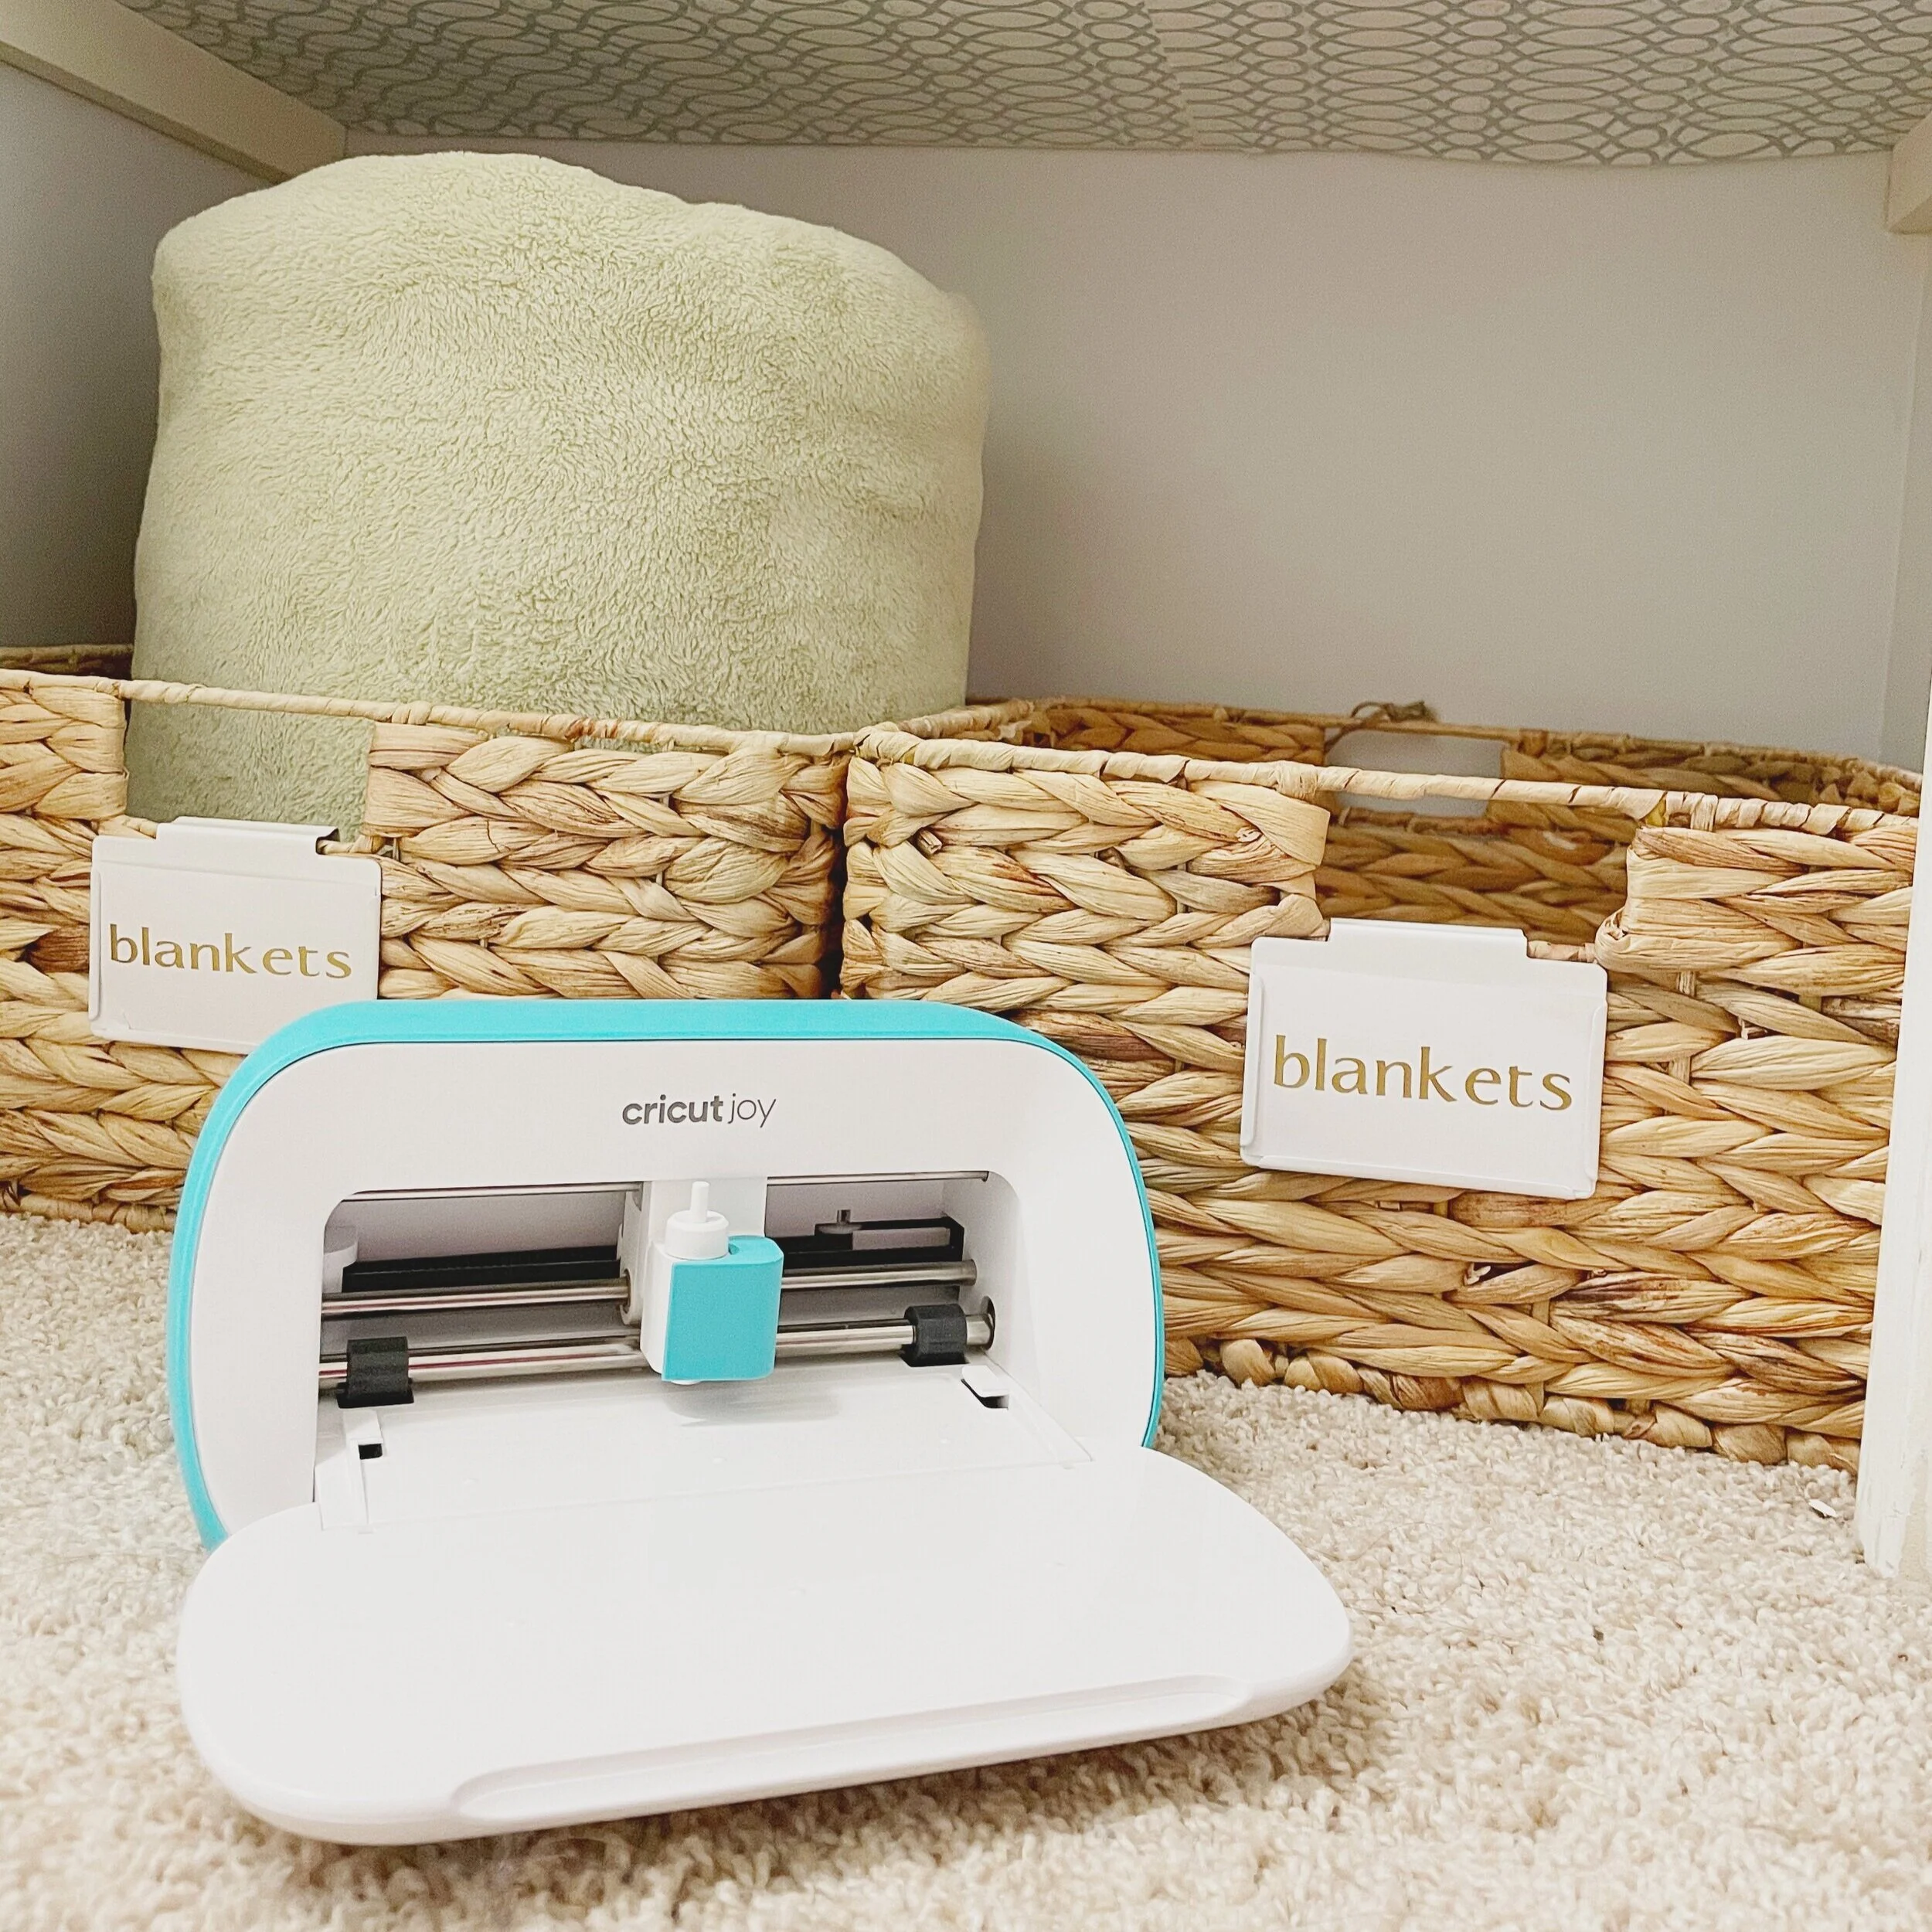
Once I decided on the font, I opened up the Cricut Design app and created the labels that I needed for the bins. I love script fonts but since we have a rising reader, I selected the Linotype Aperto Com Semi Bold font which reads and prints beautifully.
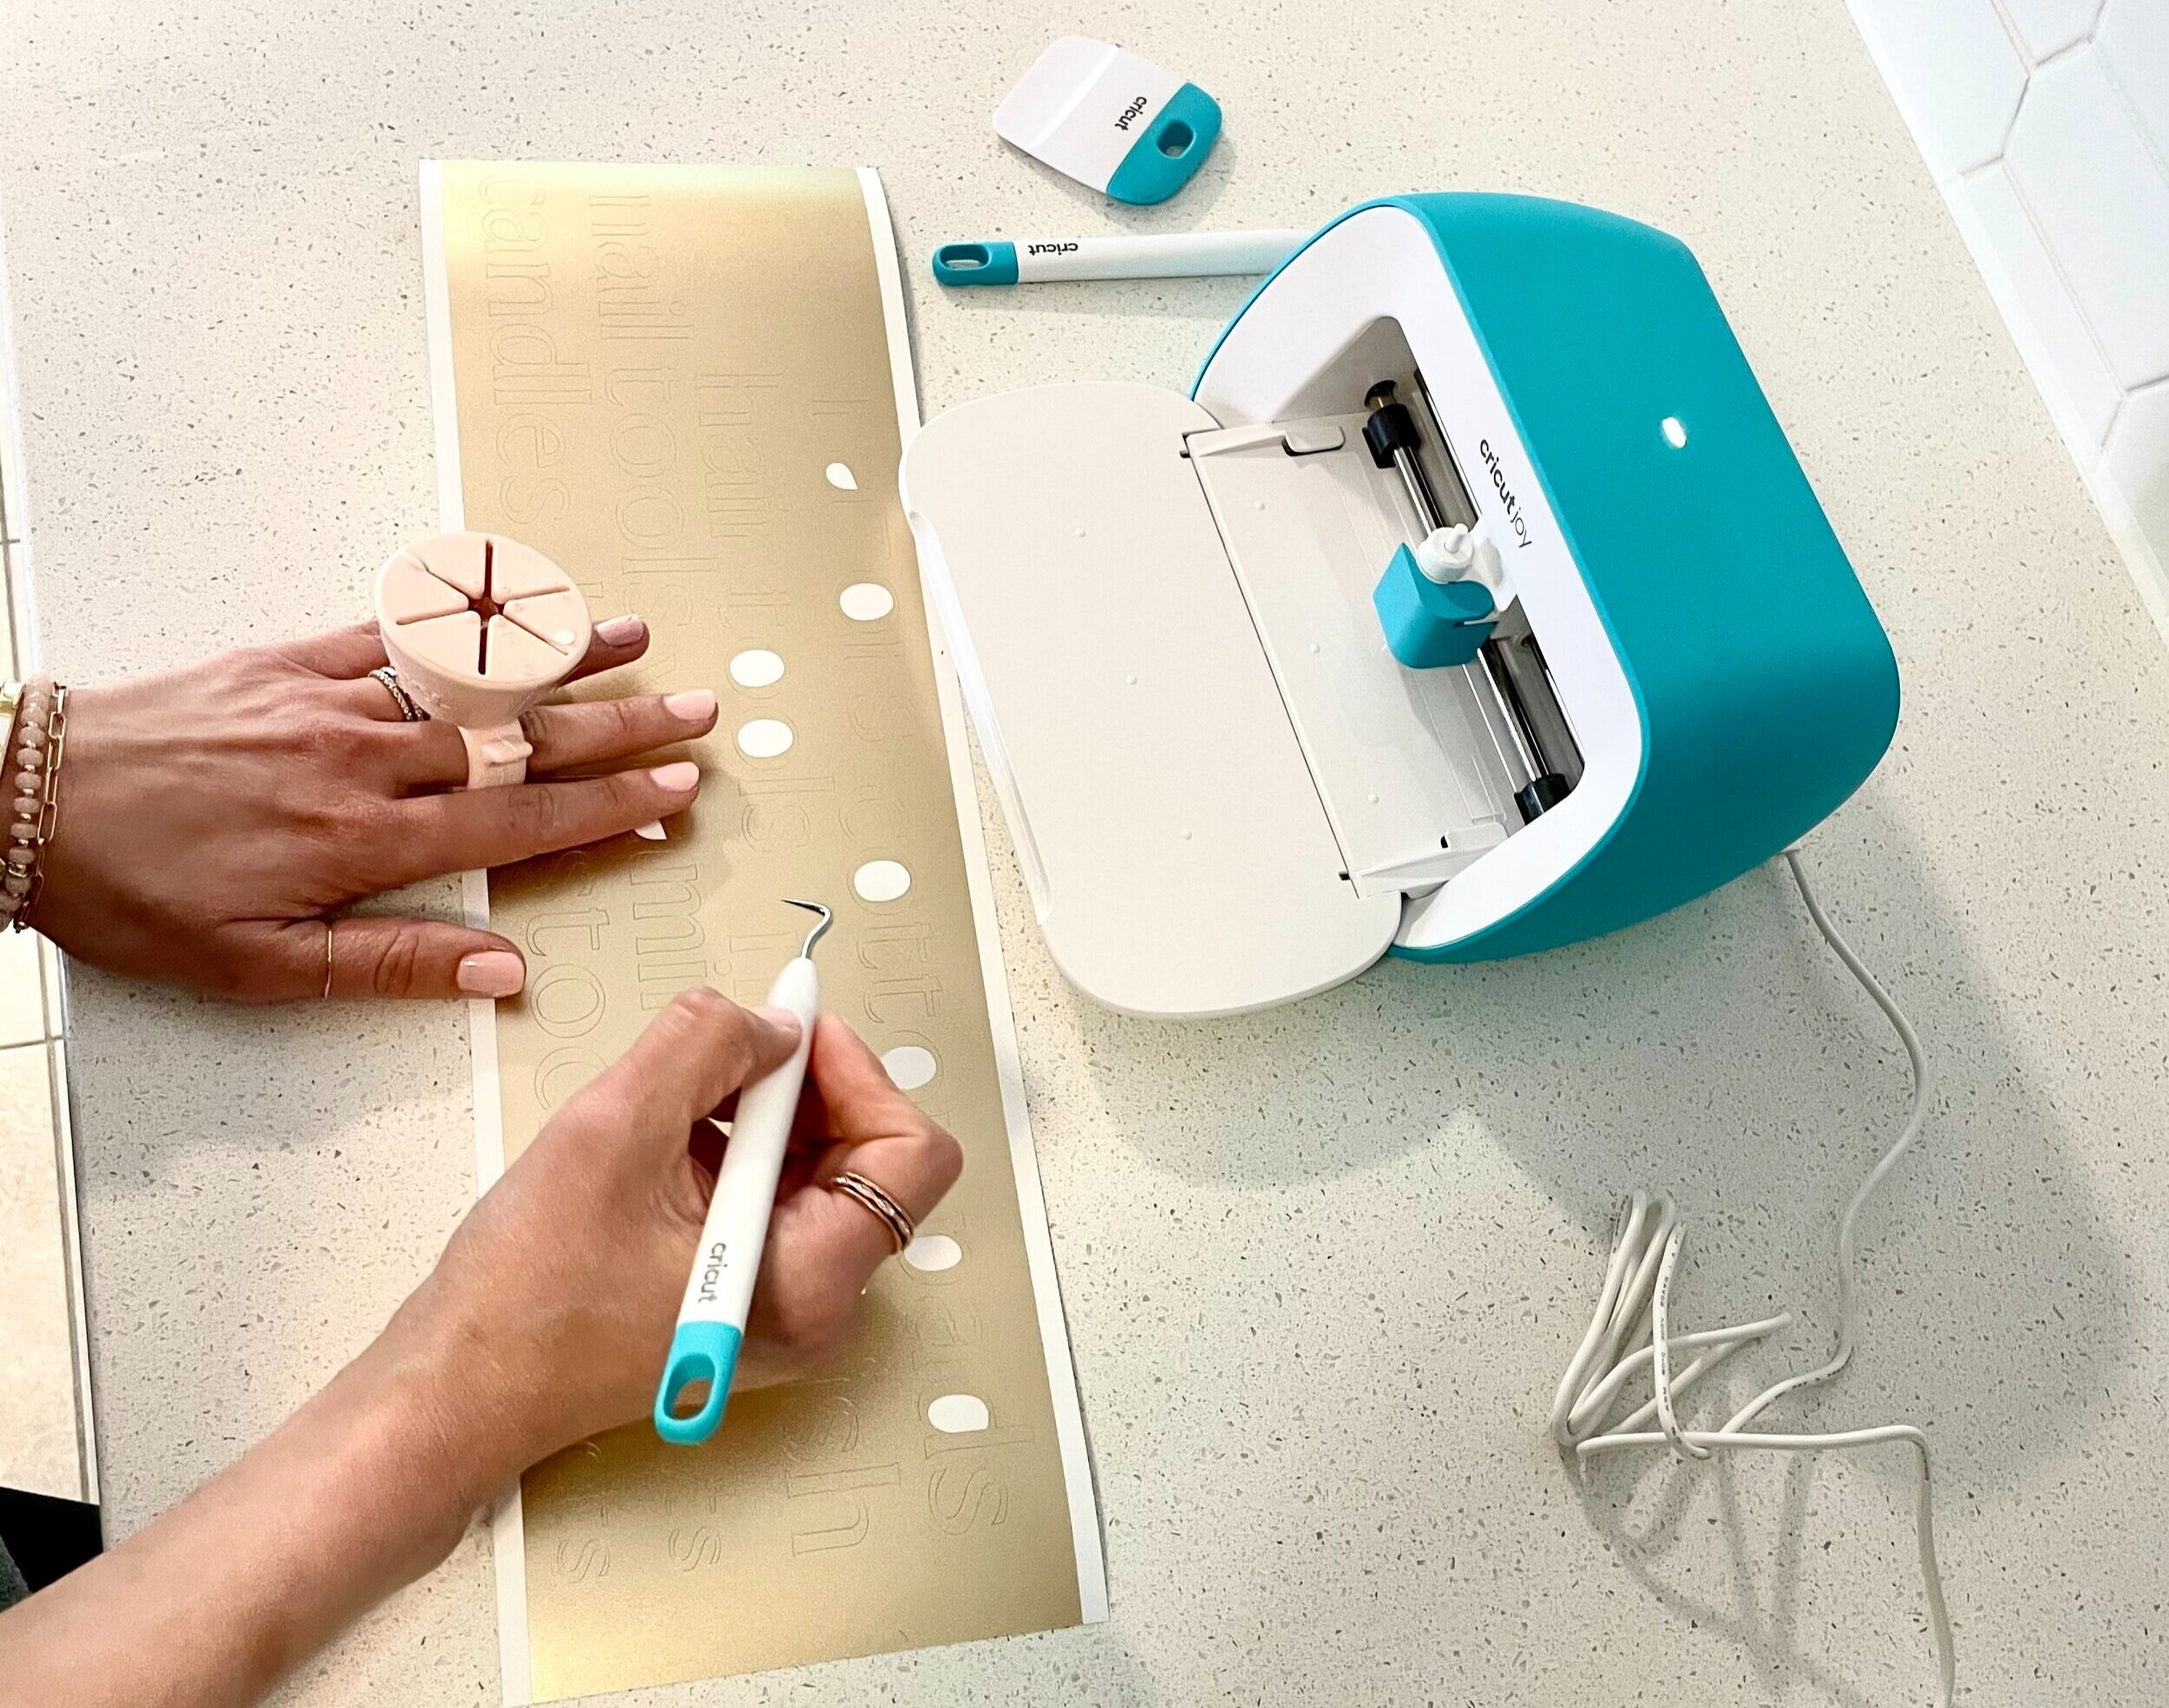
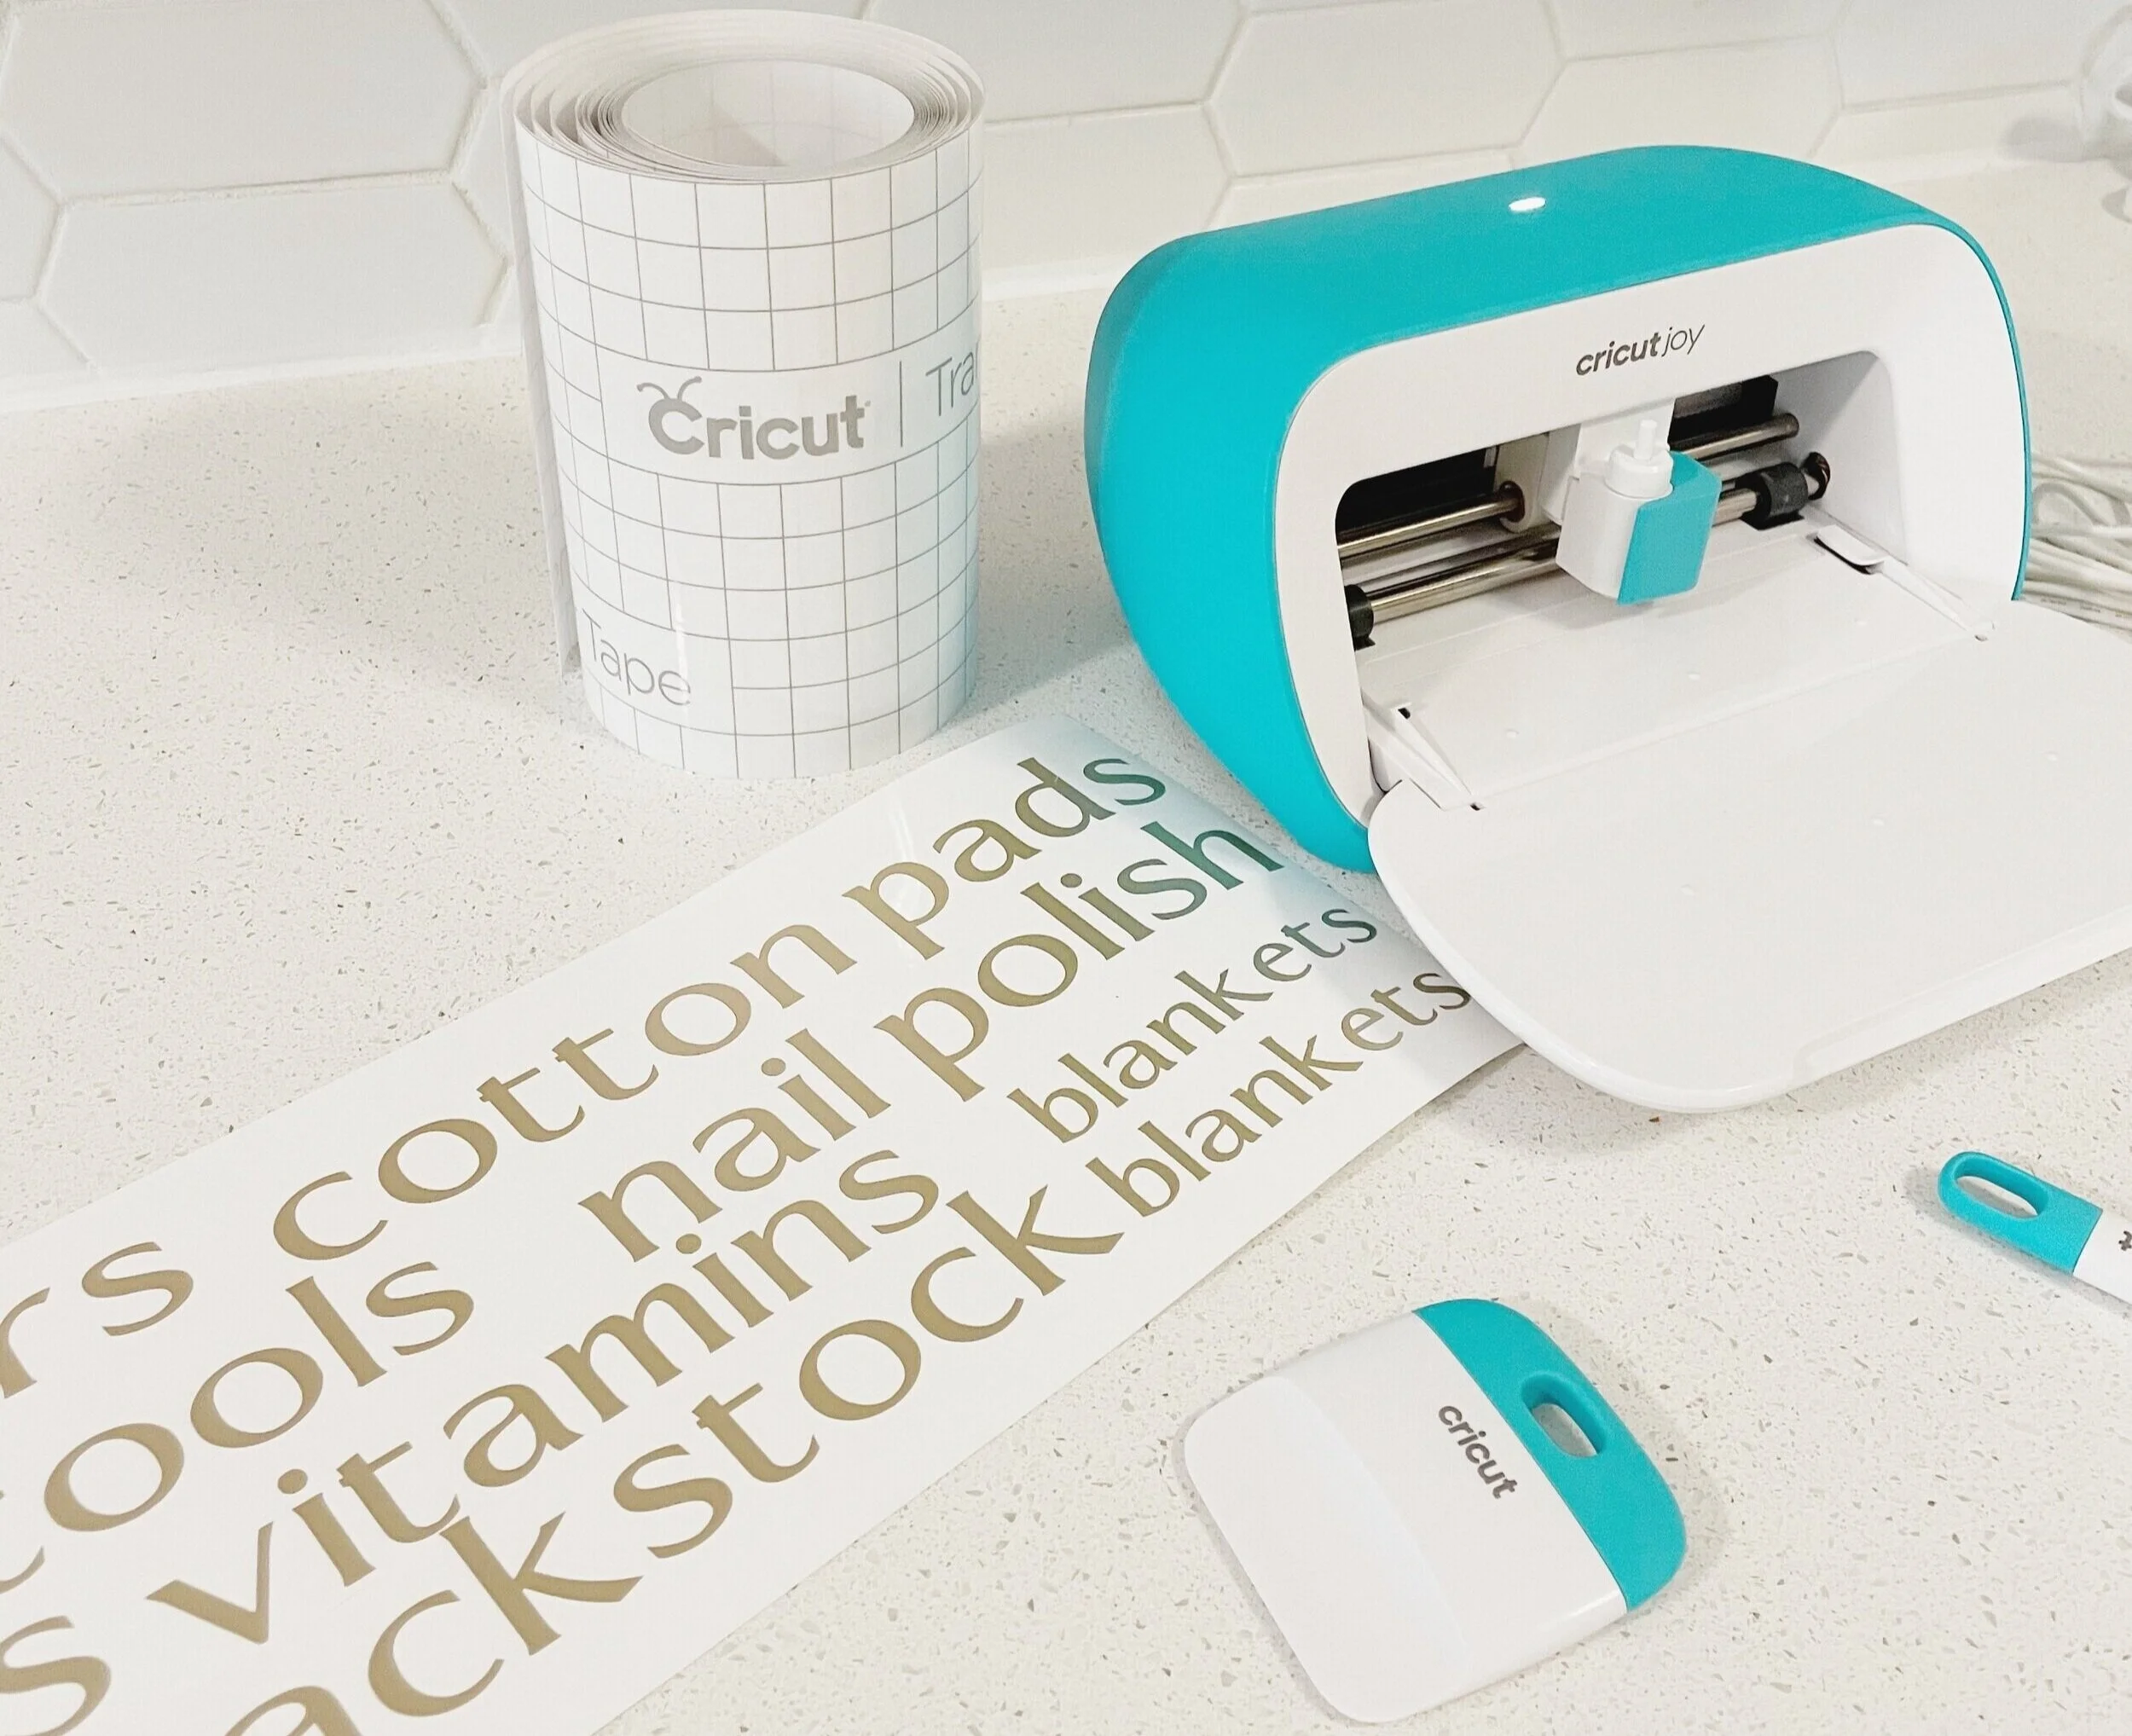
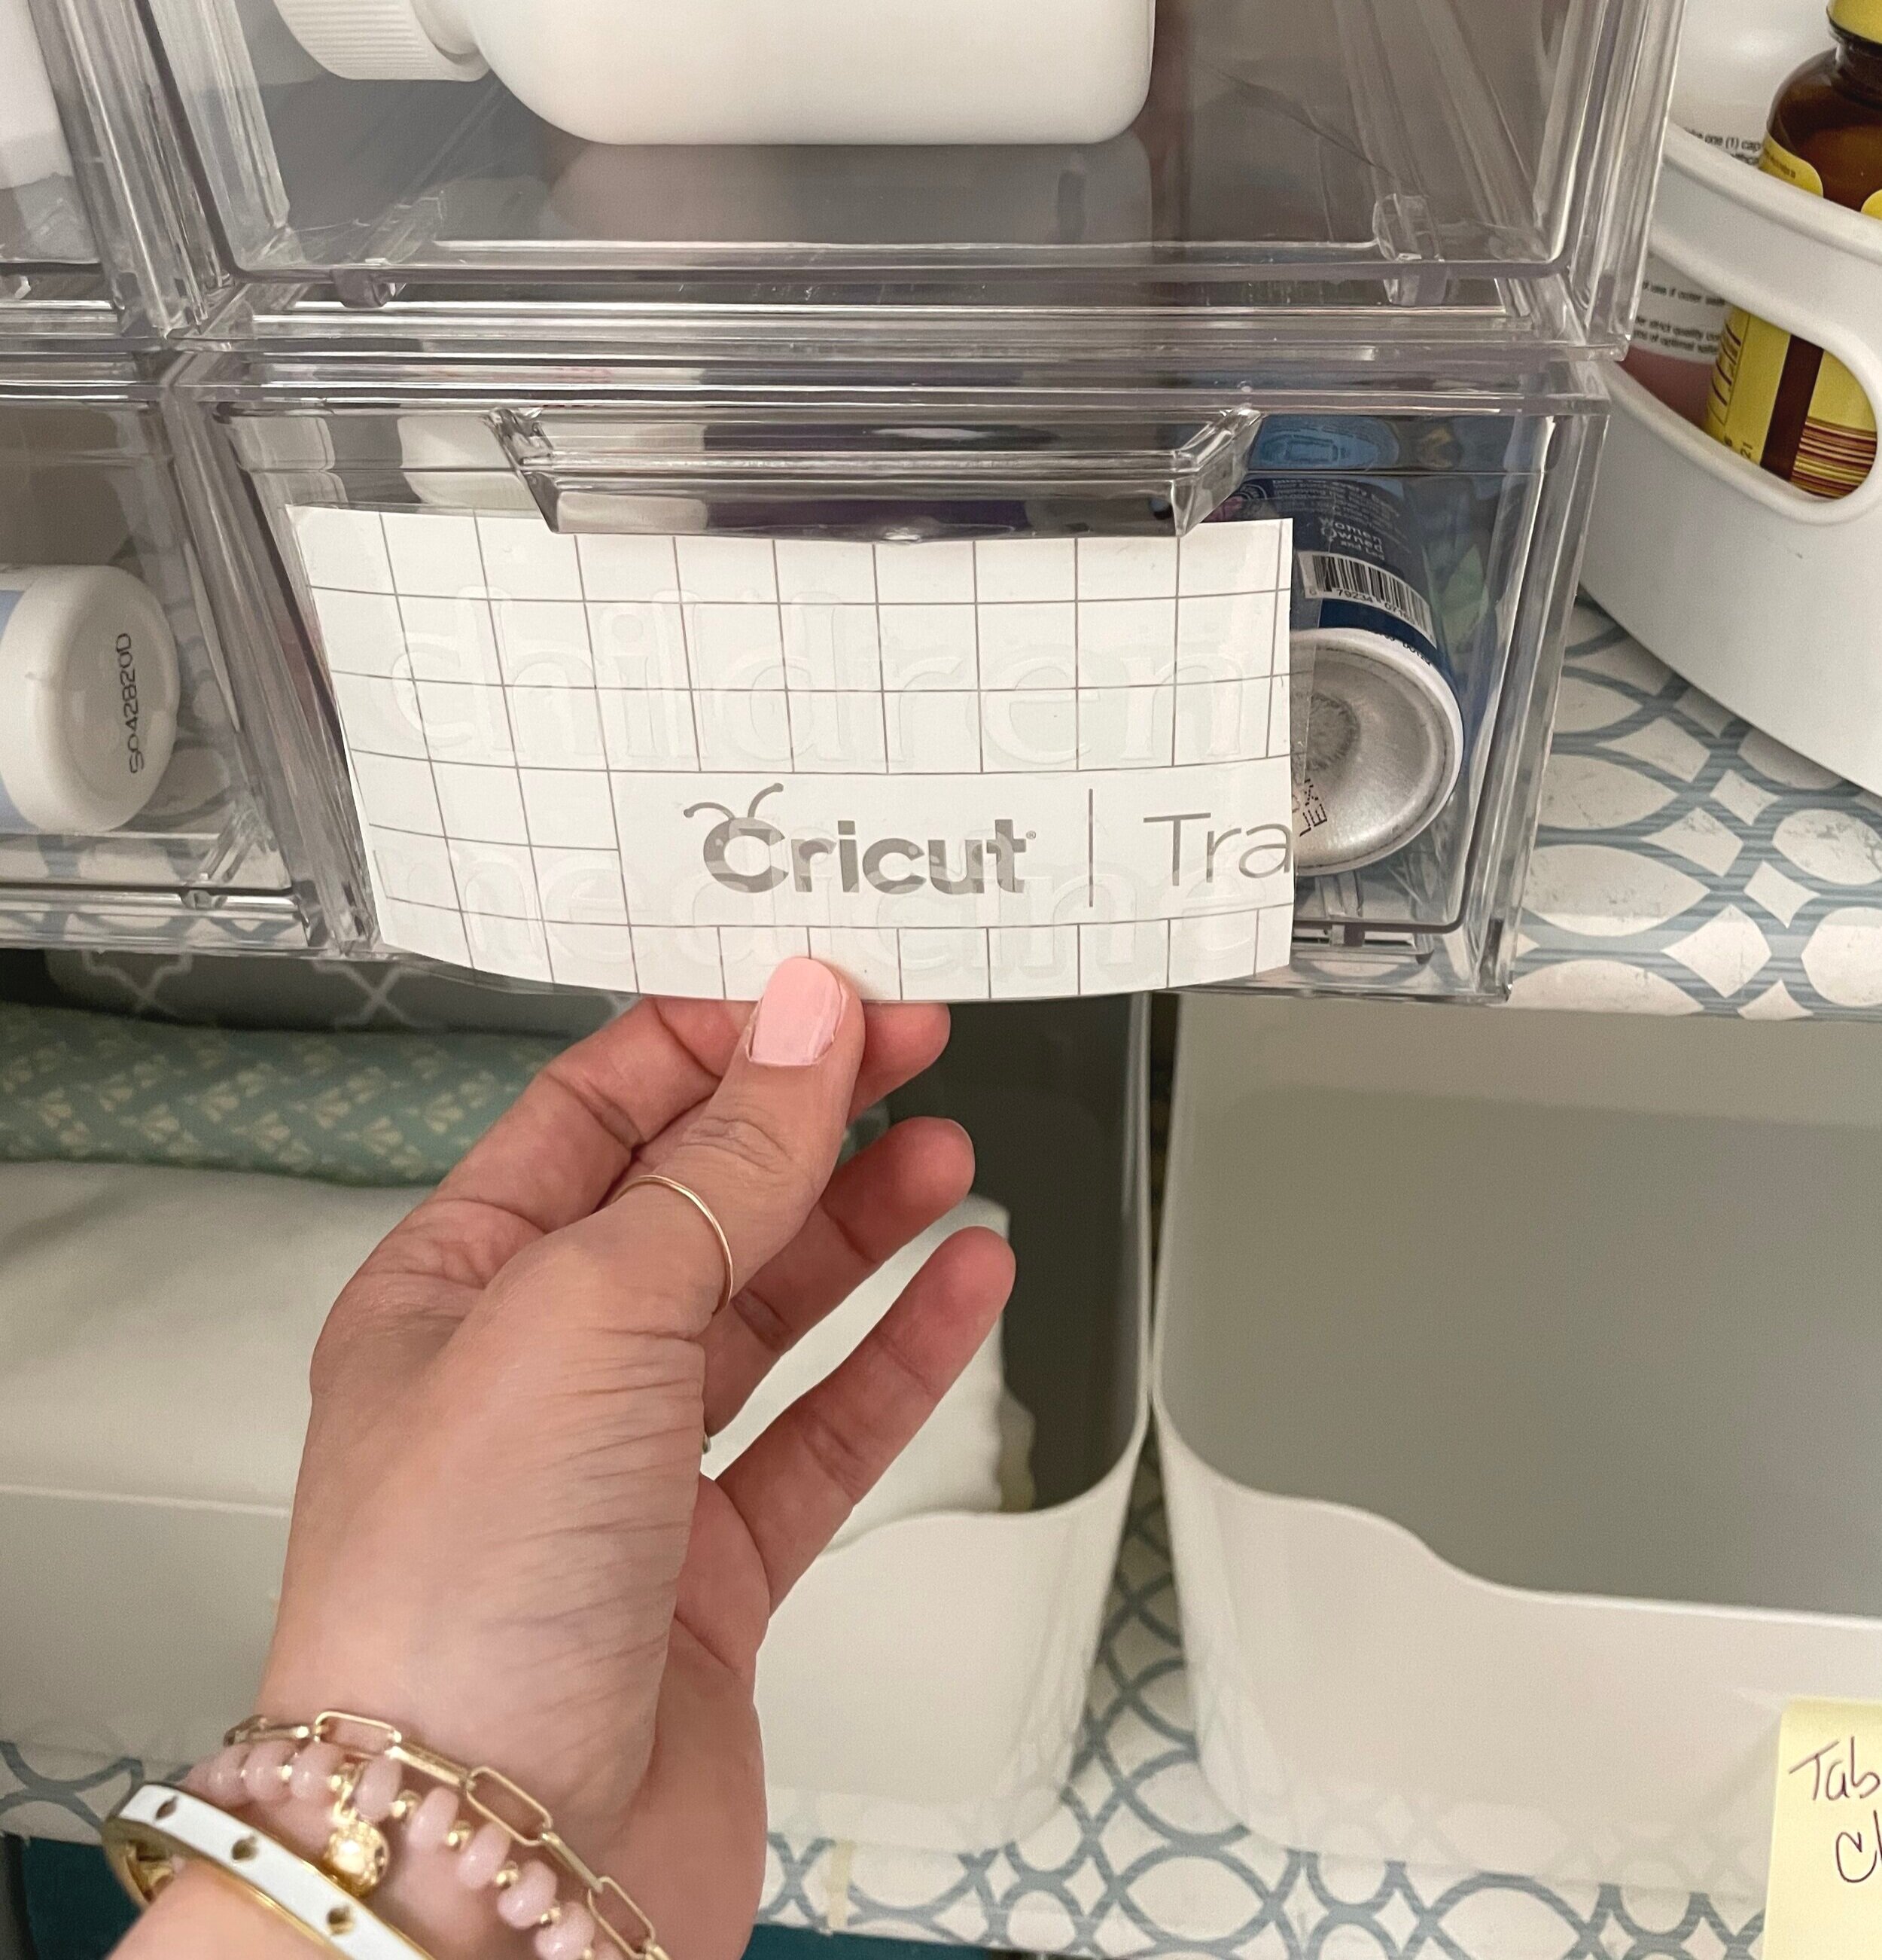
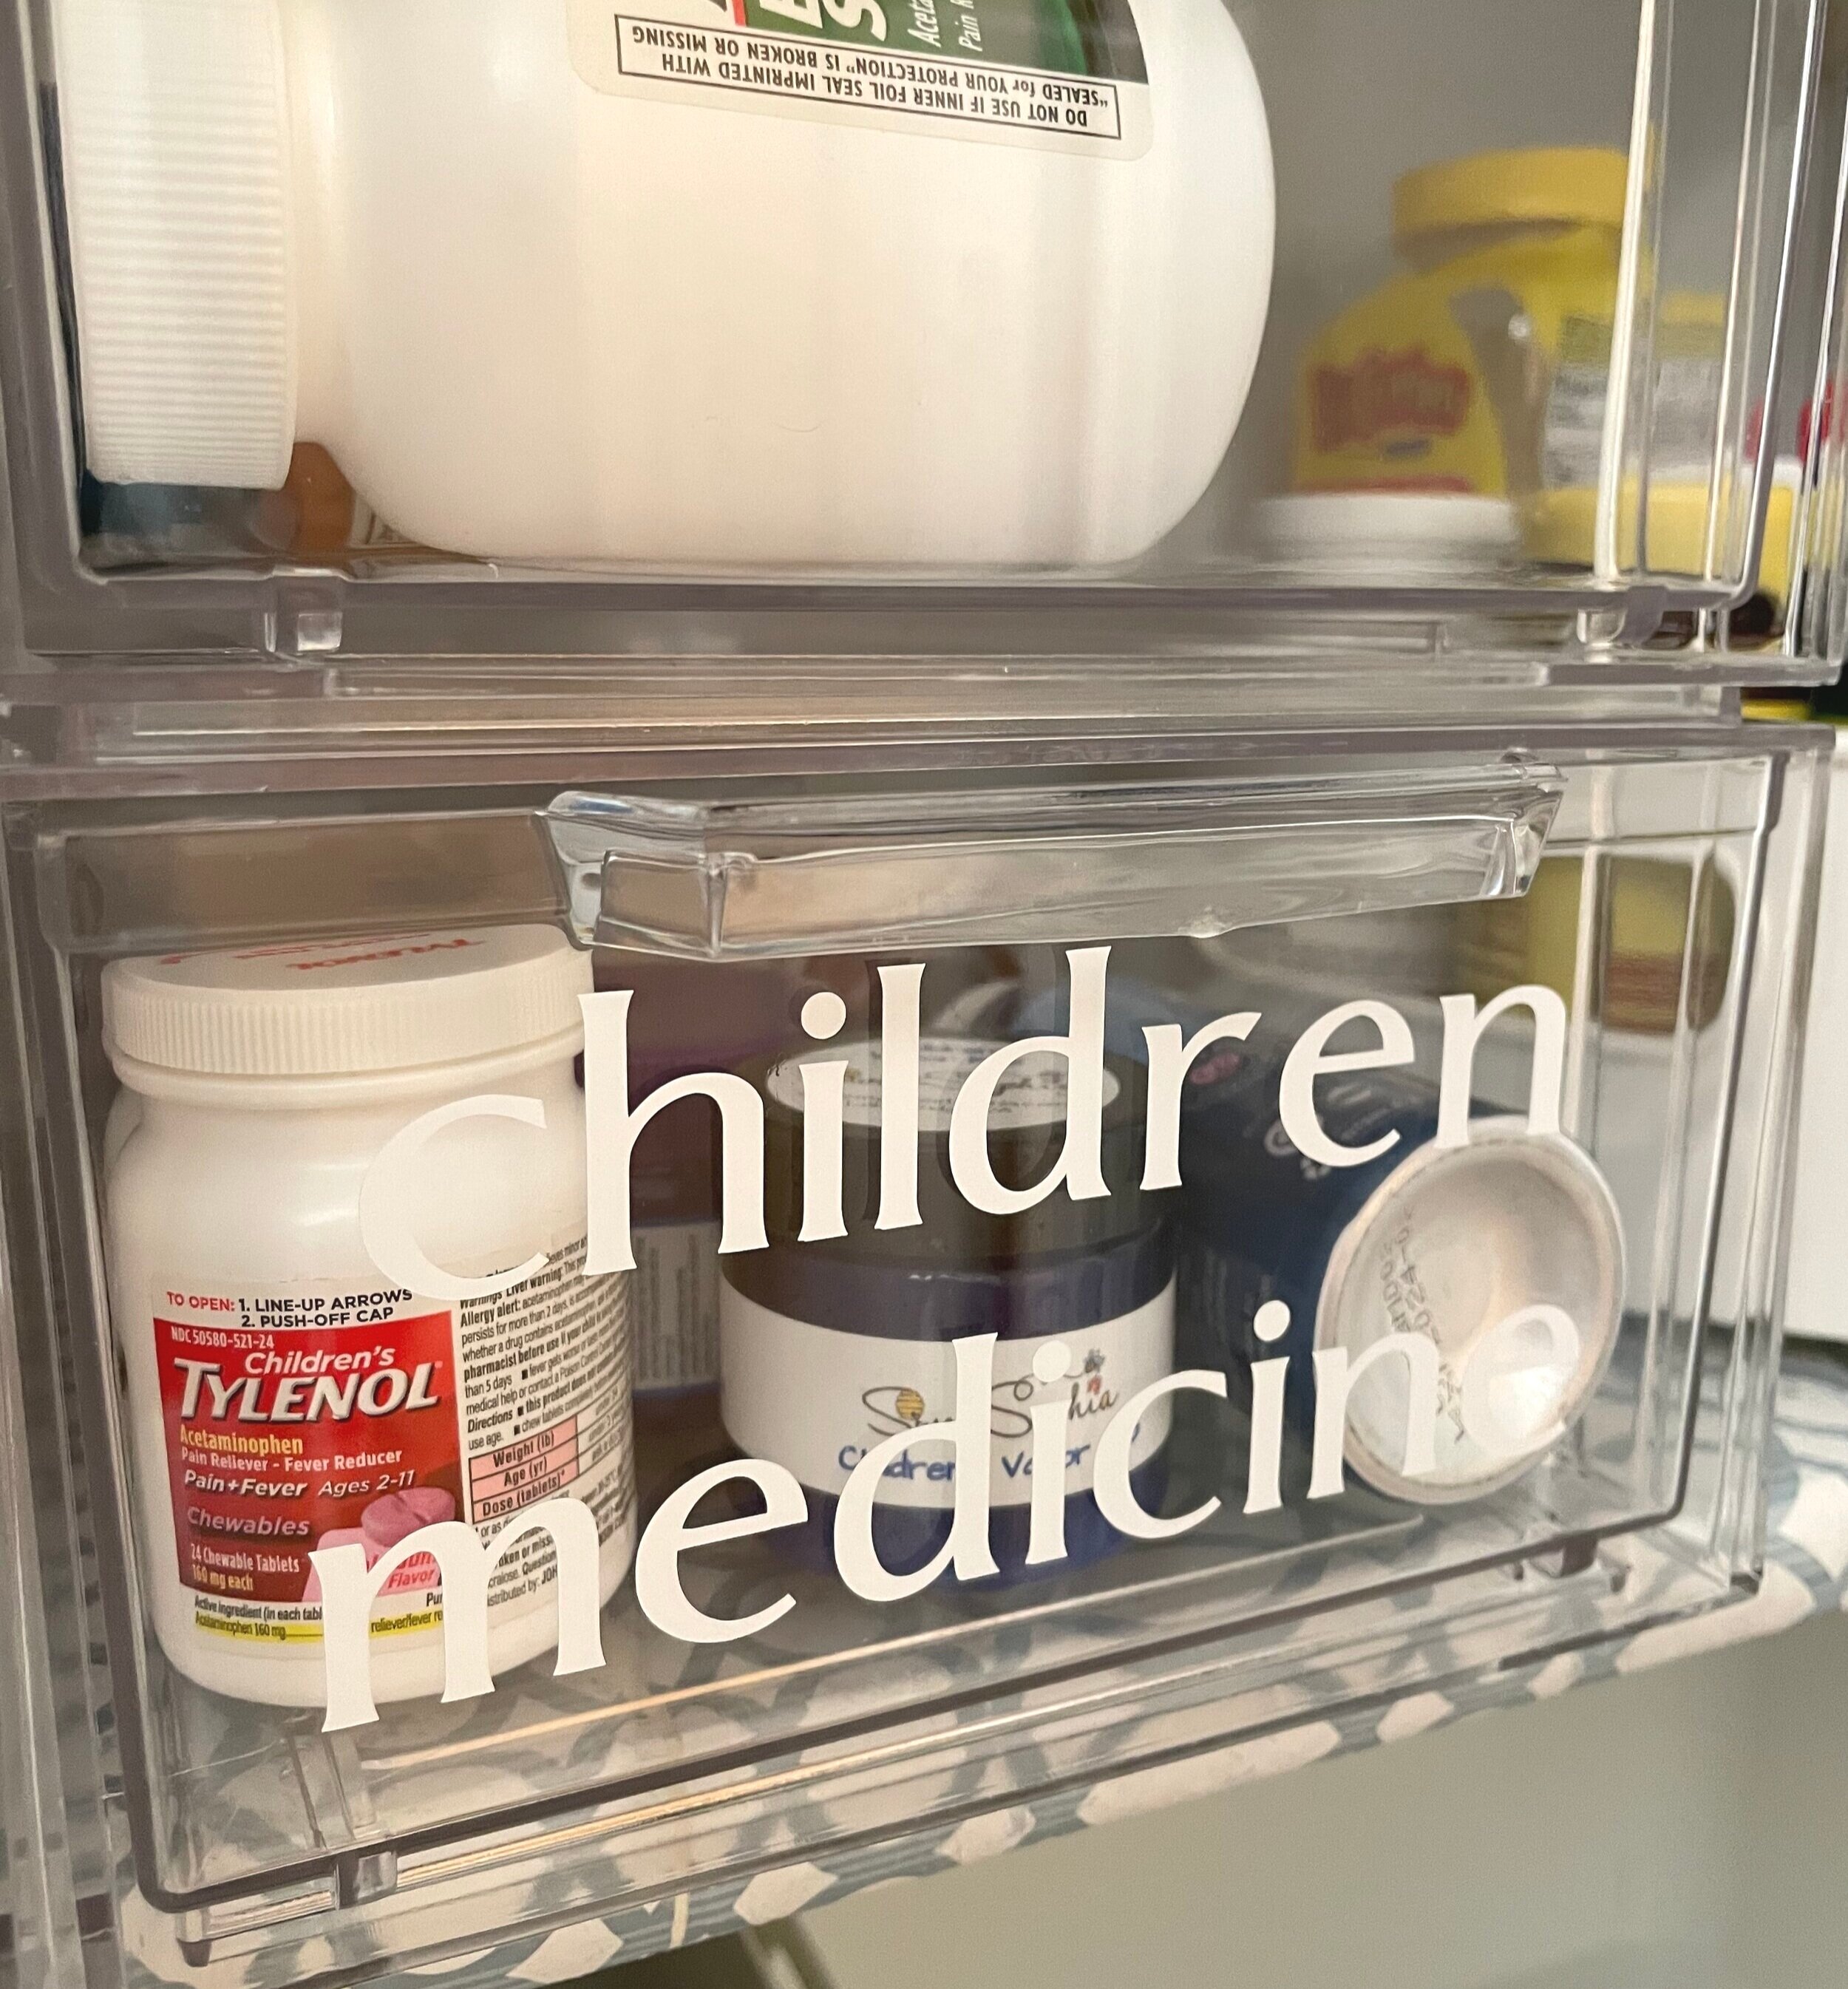
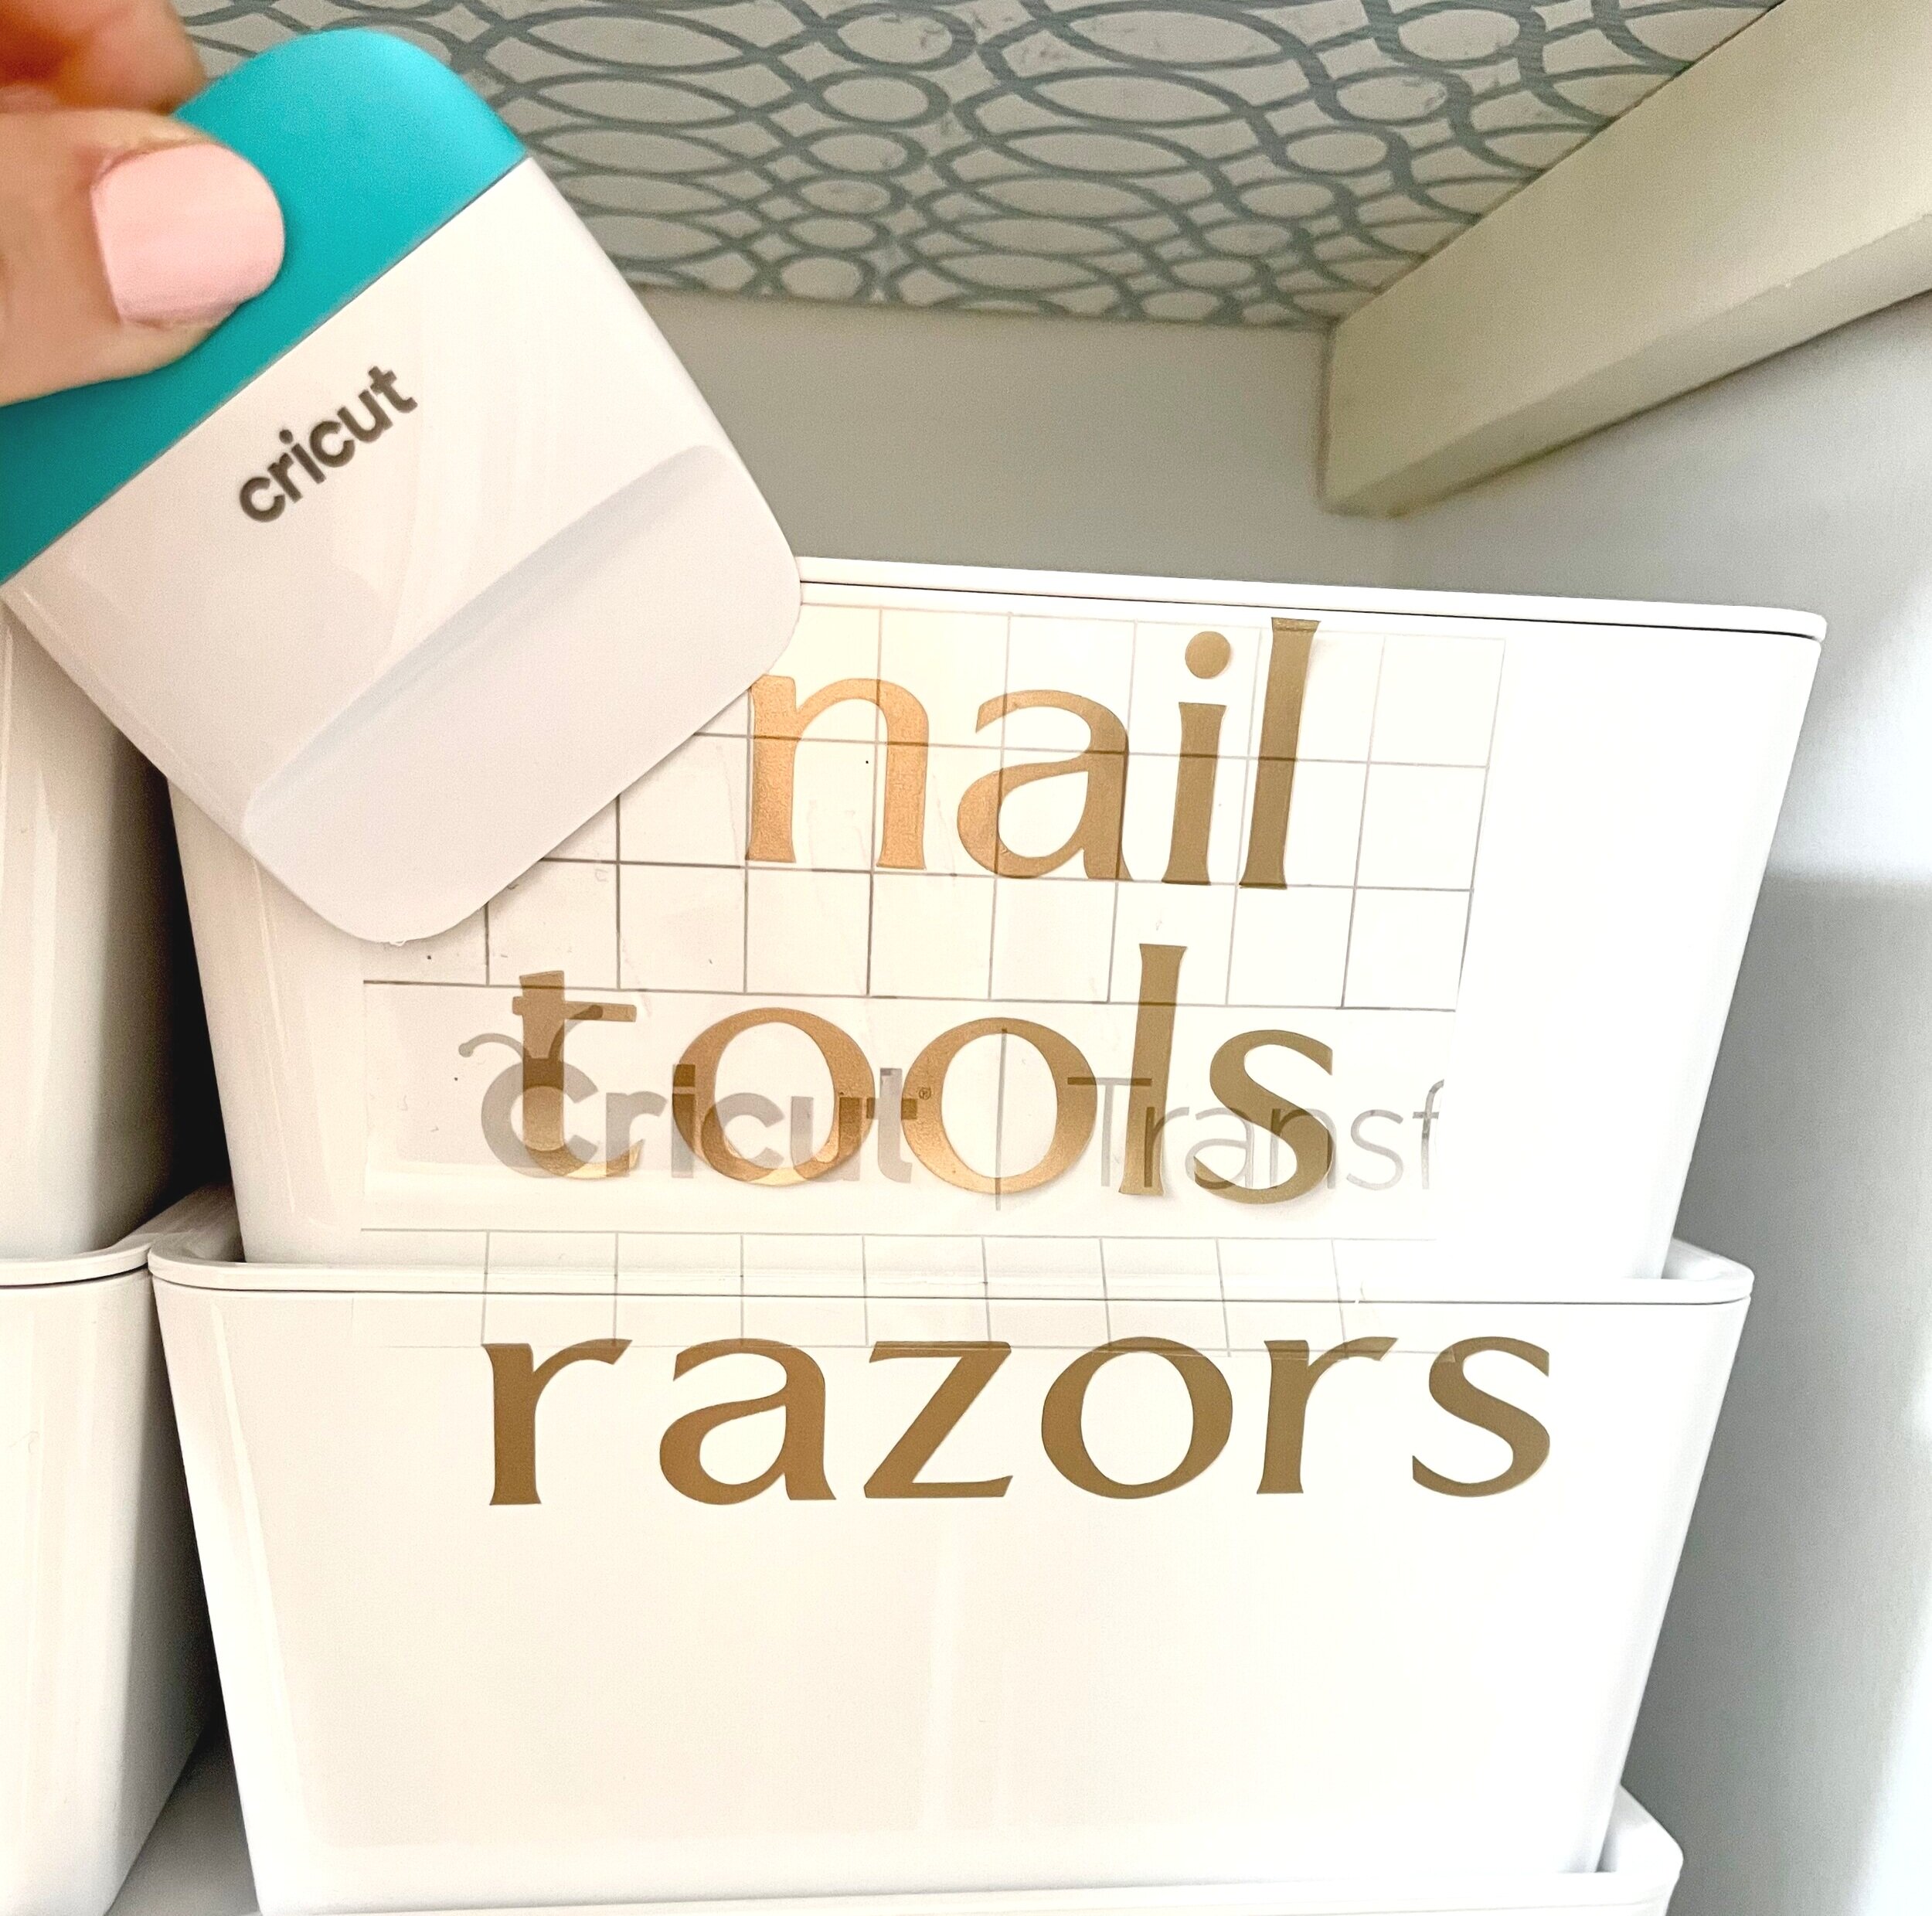
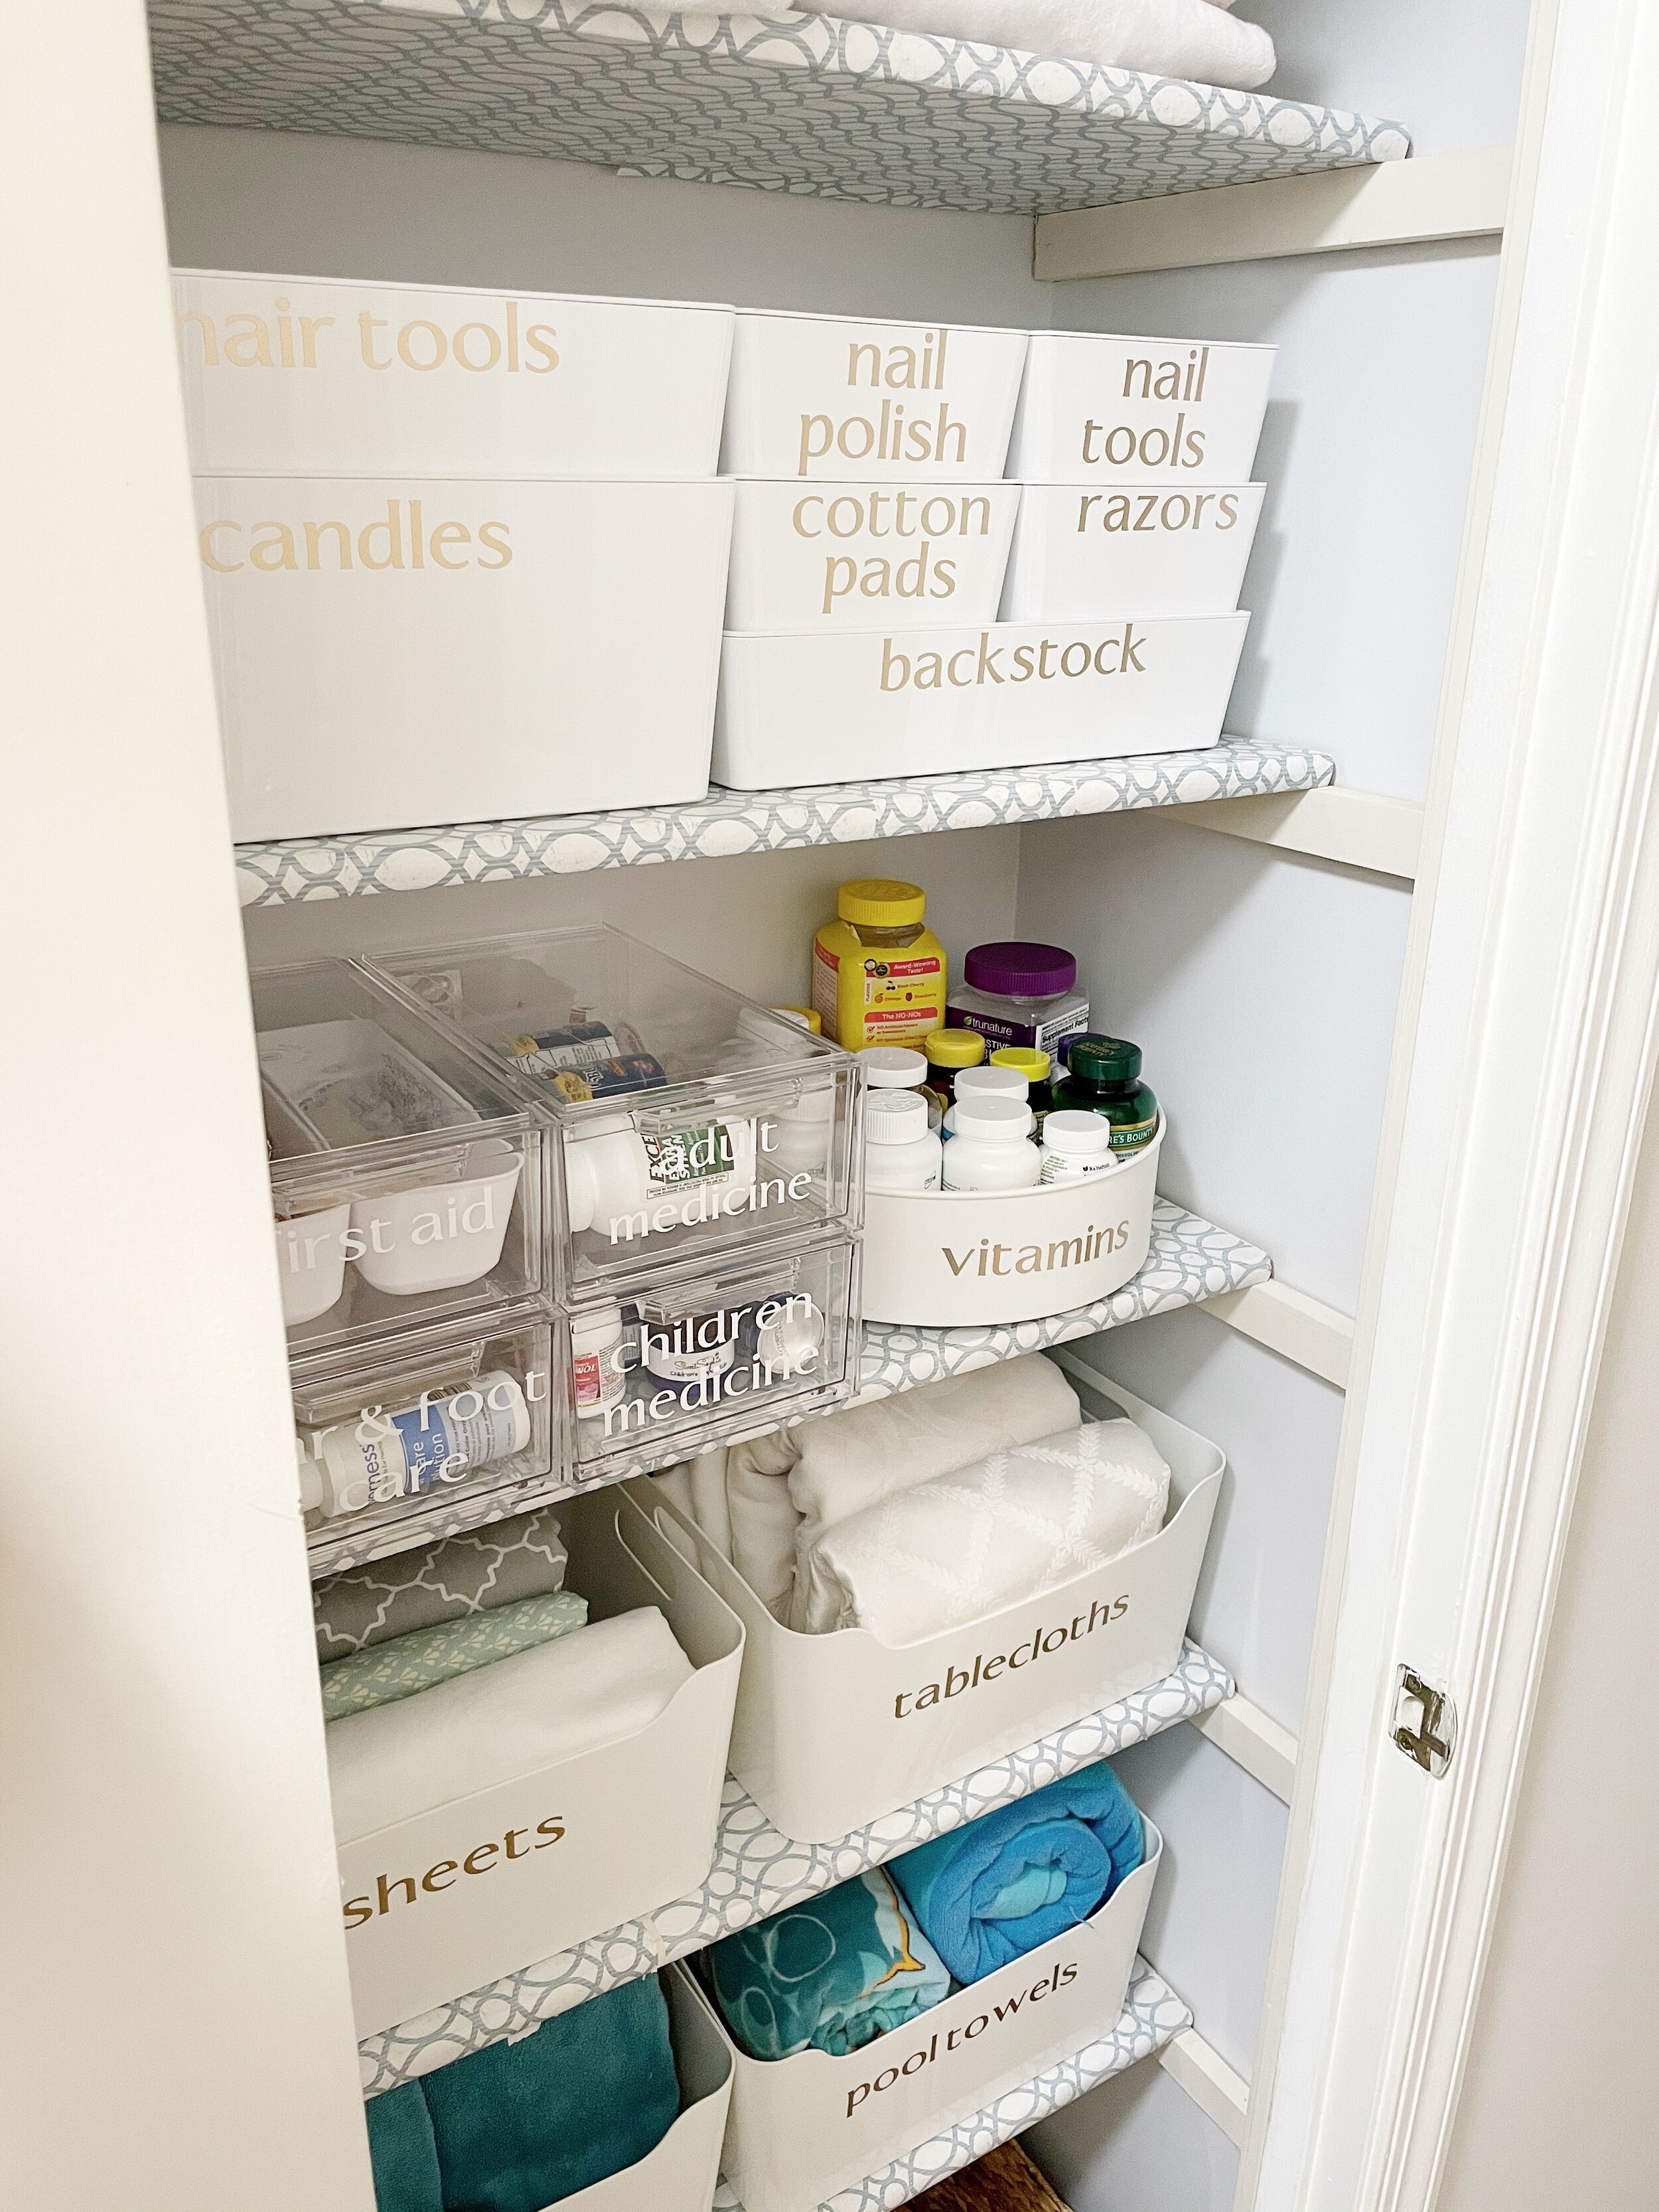
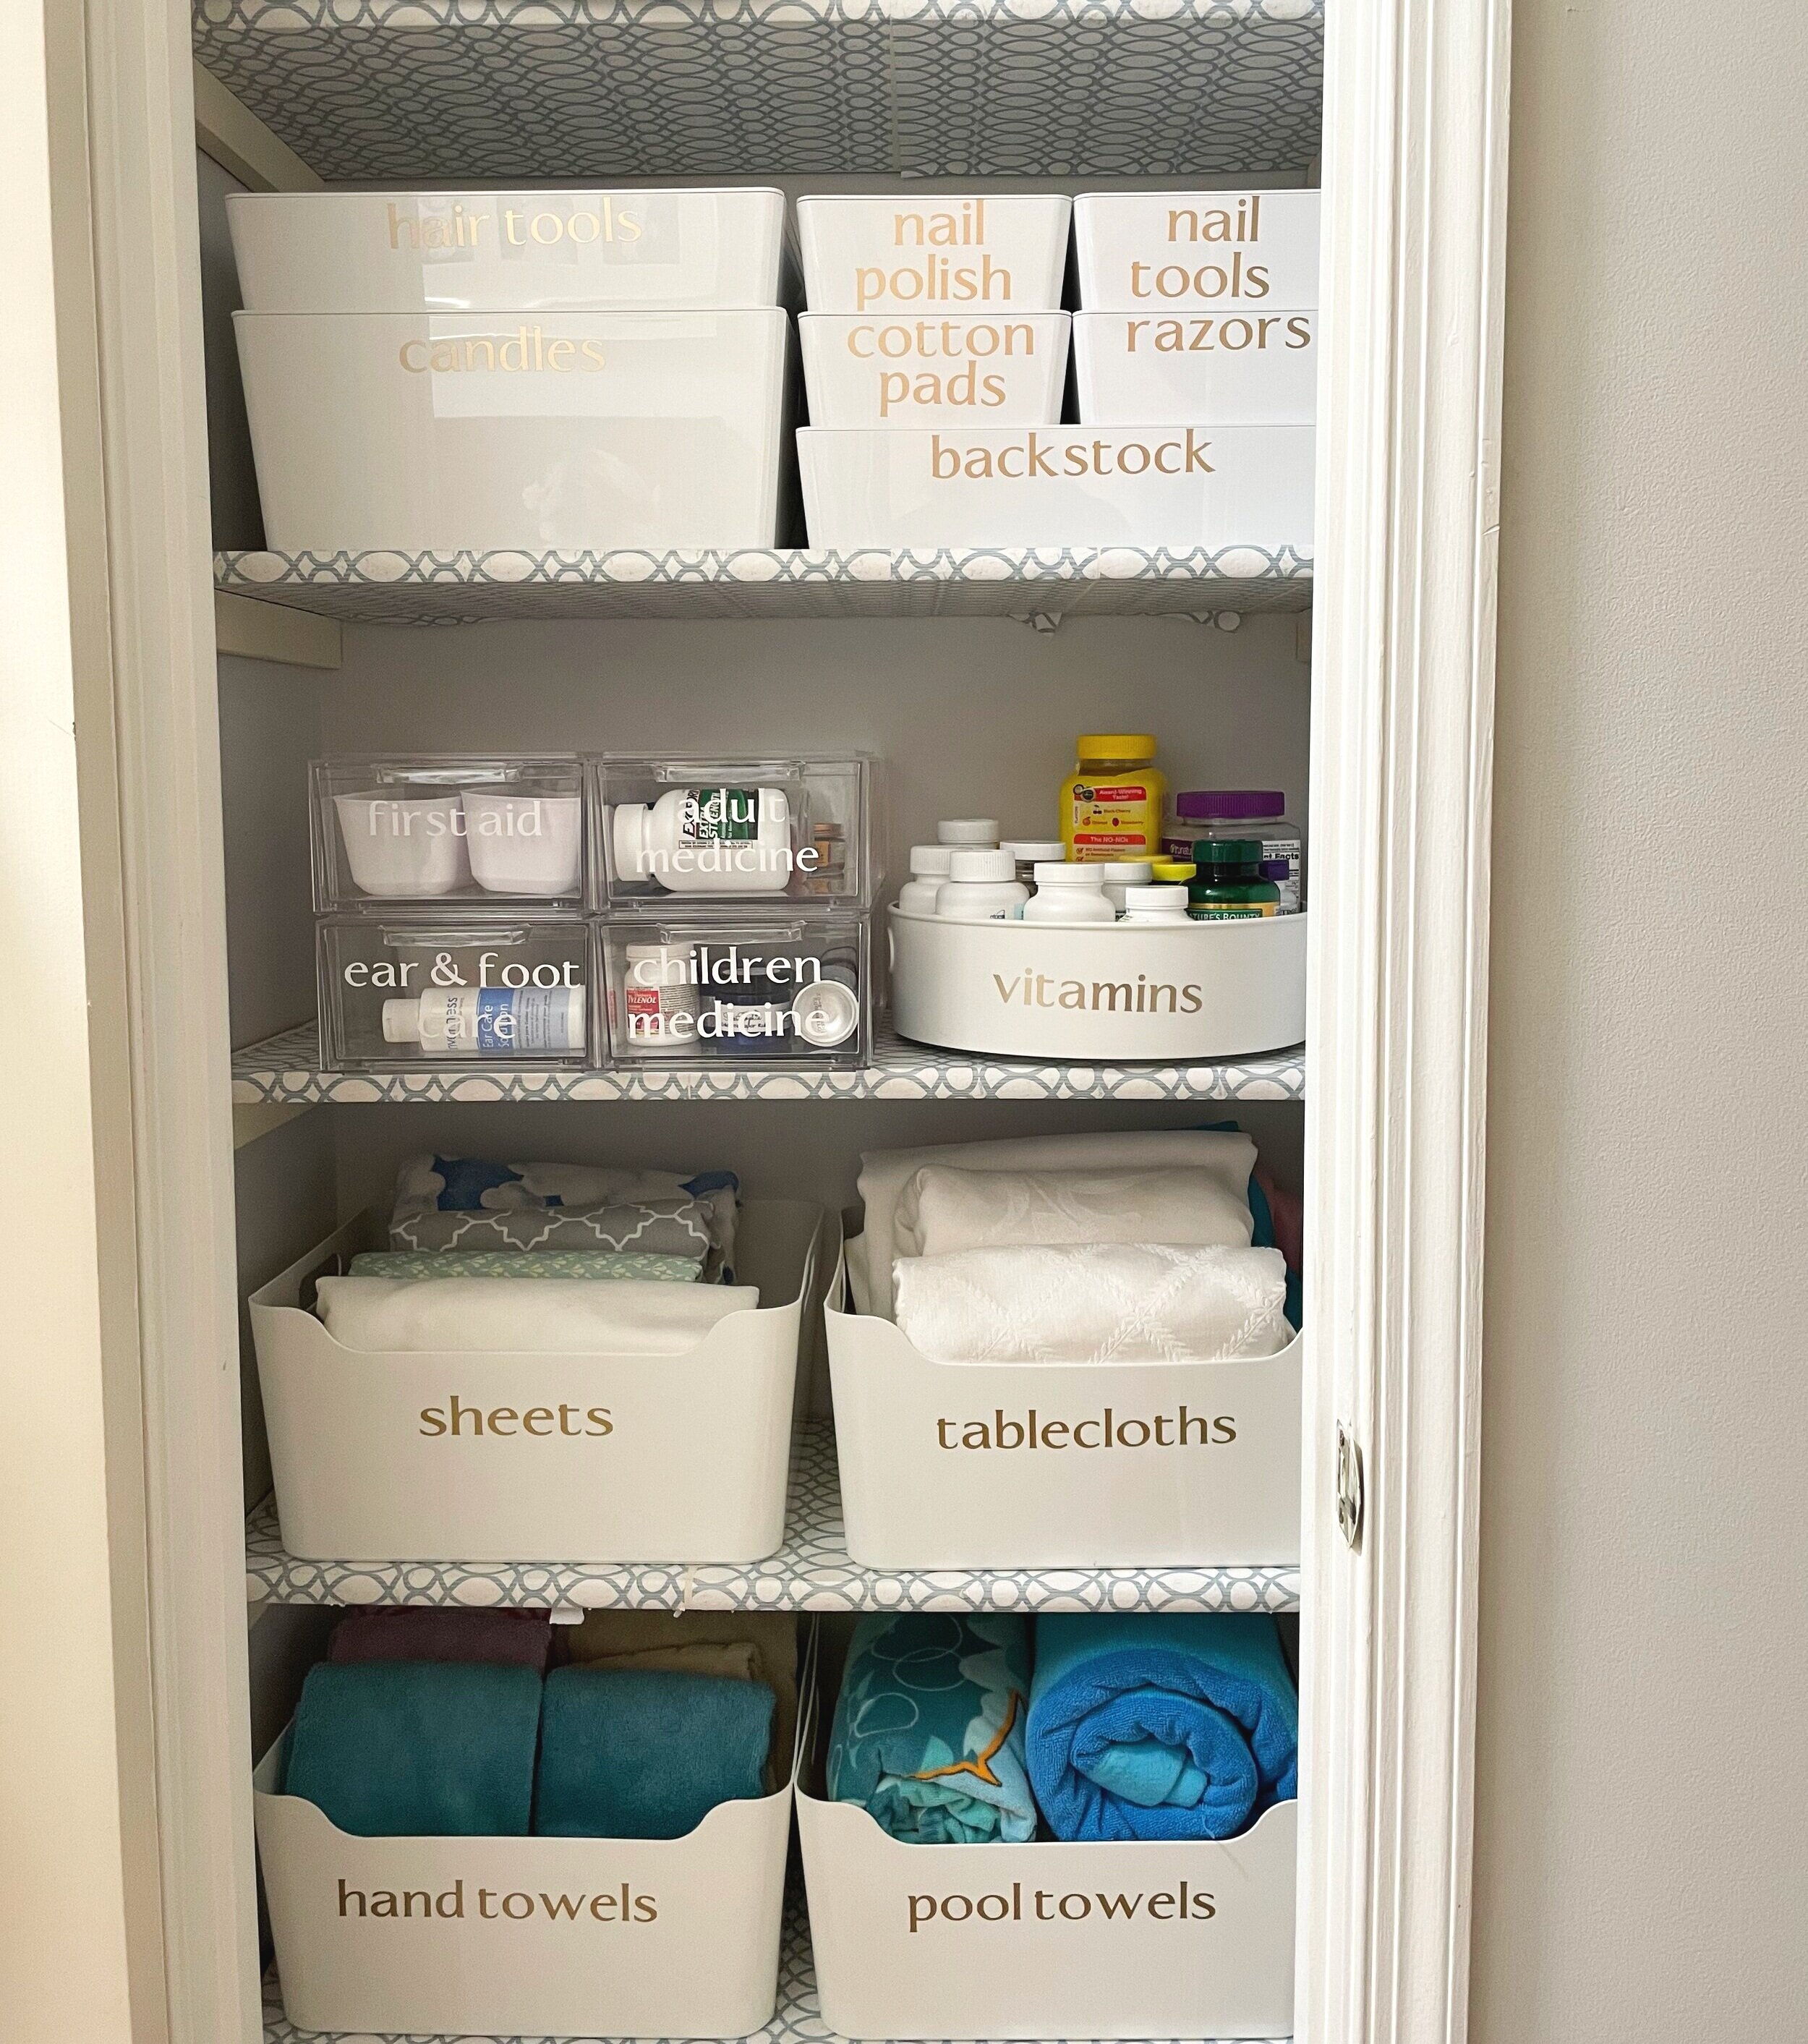
After the labels were completed on the Cricut Design app, I chose the Gold Metalic Smart Vinyl for the white bins and the White Smart Vinyl for the clear bins. While the Cricut Joy was cutting the labels, I prepared the area to weed out the extra vinyl. The Cricut Tool Kit is a must-have to create the labels, the weeder removes all unwanted vinyl from the labels and the scrapper helps you apply Cricut Transfer Tape to add onto your desirable material. The Cricut Joy also cuts regular vinyl, it just needs a Grip Mat that fits the machine.
When all the labels were weeded out and applied onto the Cricut Transfer Tape it was time to add the labels to the bins and complete the organizing system in the multifunctional closet. I’m so happy with the project refresh and so impressed by how easy it was to create the vinyl labels using the Cricut Joy and Cricut Smart Vinyl. Our multi-functional closet is now accessible, beautiful, and functional with an organizing system that is easy to maintain and use.
The Cricut Joy is an essential tool to help me create organizing systems during this year’s spring cleaning, you too can stay organized and create the organizing systems that are tailored to you and your family’s needs. With the Cricut Joy, the organizing possibilities are endless and you are guaranteed to create a beautiful space. Want to take your Cricut Joy on the go? With the Cricut Joy Tote, your DIY best friend will be safe and ready to go.
Are you ready to get organized during or after spring cleaning? Remember, never organize what you can declutter.

Until next month,
STR


